Have you ever heard that you can start a generator with a drill?
There are actually two ways that a drill can help you to start a generator (engine and AVR):
- To spin the nut under the recoil cord assembly to start your generator’s engine
- To “flash the field” and allow your generator to start producing electricity again by engaging the AVR (automatic voltage regulator)
If you’re caught in a power outage and your generator is not producing electricity or not starting, it might amaze you what a corded and cordless drill could do for you. Though these small tools can yield some magic to save the day, they aren’t necessarily the safest to use by any means.
When a generator is lacking residual magnetism in the alternator, a corded drill can certainly be used with relative safety to “flash the field” and give the alternator the push it needs to start generating electricity.
If you’re caught with a generator that will not start due to a pull cord being broken, then a cordless drill (with a fresh battery) can be used to start the engine but it doesn’t come without great risk.
I’m going to go over the two ways you can get your generator working like new with a corded and cordless drill and the risks associated with both methods.
No Power? Start a Generator’s Electricity Production With a Corded Drill
If you start up your generator and the engine is running just fine but there is no power output, you might be able to save the day with a corded drill (depending on the problem).
Actually, if you were to test the receptacles with a multimeter, you would likely see that there is a small amount of electricity being produced, but not enough to run any of your appliances with.
There are many reasons why your generator might not be producing electricity, and I have an article here with 6 common ones and how to go about fixing them. If your problem is that your generator has simply lost its residual magnetism in the alternator, then a corded drill can bail you out of a depressing power outage.
To understand how a corded drill can fix our problem, let’s briefly cover what’s happening inside the alternator that is causing the problem.
Inside the alternator is the stationary stator, and inside of that is the rotating rotor. In order for these to become an effective electromagnet as the rotor spins inside of the stator, there must exist enough residual magnetism to produce enough volts when spinning to trigger the AVR (automatic voltage regulator) which will then supply the alternator with some of its own generated electricity in order to strengthen the magnetic field and produce the 120 or 240 volts that you’re requiring.
Normally, residual magnetism is stored in the rotor. When the engine starts and the rotor starts spinning, the residual magnetism is supposed to be enough to produce enough voltage to trigger the AVR (automatic voltage regulator) which then would bring the generator up to the full 120v or 240v that you are looking to use.
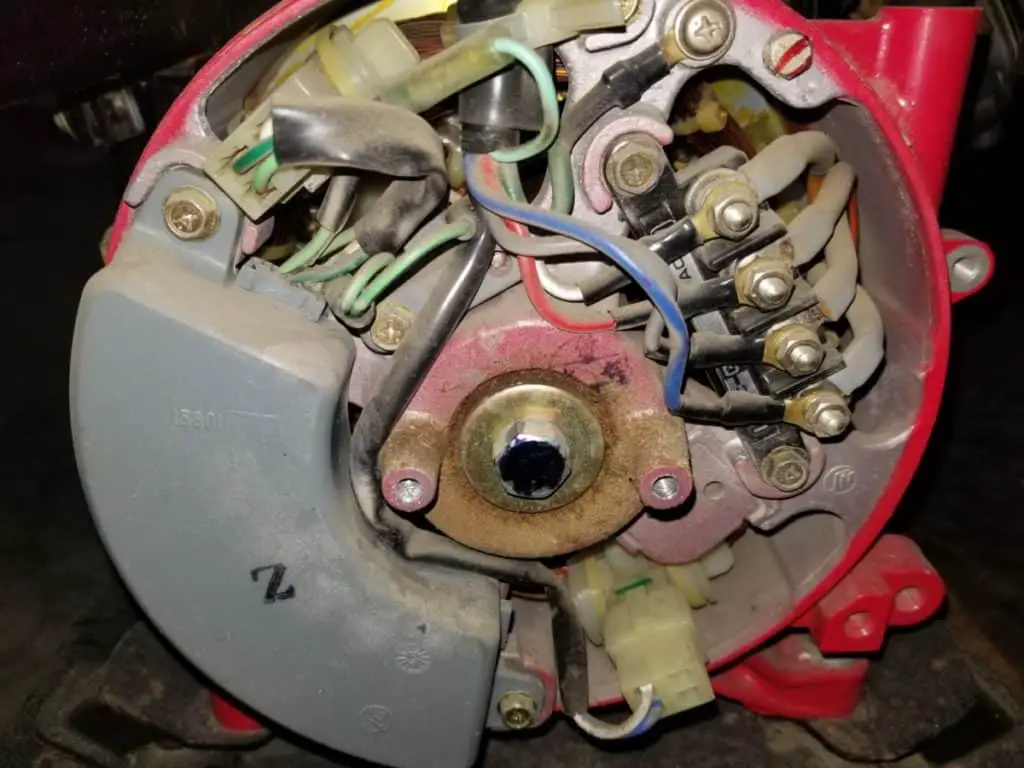
The AVR is responsible for sensing the output being produced by the generator and bringing it to a predetermined amount (120v, 240v, etc.).
Essentially, it does this by seizing a small portion of the electricity being produced by the alternator and feeding that same electricity back into the exciter coils to increase the magnetic field and produce more power. Conversely, if it senses that the generator is producing too much is reduces the amount of energy being fed to the exciter coils which reduces the magnetic field and reduces the electricity being produced.
Unfortunately, the residual magnetism can be lost due to a generator being banged around when not in use, being allowed to run out of gas when a load is being placed on it, being turned off with the engine start switch when a load is being placed on it, or simply by sitting in storage too long without being used.
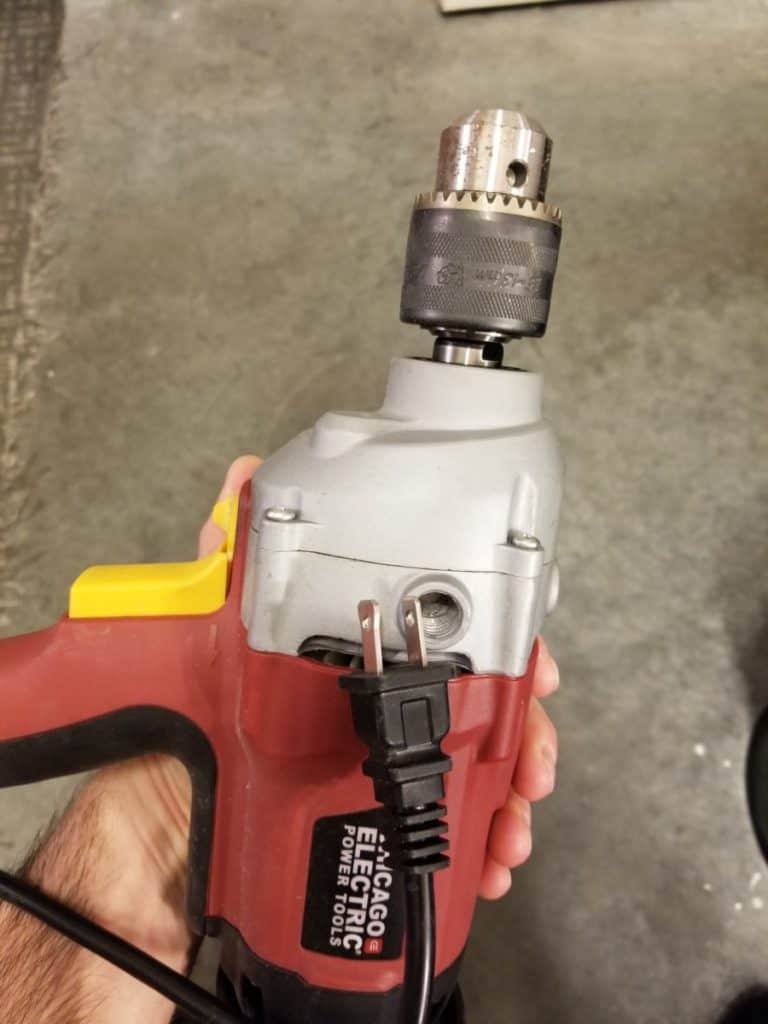
A corded drill, when plugged into a receptacle on the generator can “flash the field” and trigger the AVR to start its job. With the drill in the forward position (it would sping clockwise) and the trigger pressed down, you can back feed electricity down the cord and to the AVR in the generator by quickly turning the drill chuck backward (counterclockwise).
To do this, follow the steps below:
- Have your generator running and the AC power turned on
- Plug your corded drill into one of the 120v outlets
- Remove anything from the drill chuck so that it is empty
- Have the drill set to the forward drilling position (so that the chuck would turn clockwise if you were to drill something)
- Press and hold the trigger down with one hand
- With the other hand, quickly grab and flick the chuck backward in the counter-clockwise position so that your hand is free and clear of the drill chuck at the end of the process
- After 1-3 turns backward the drill should start working in your hand as the AVR turns on and normal voltage levels are restored
Some people recommend wearing gloves in this process, but I come from a work background where I won’t put a gloved hand in front of a moving power tool — no matter how safe I’ve tried to render it.
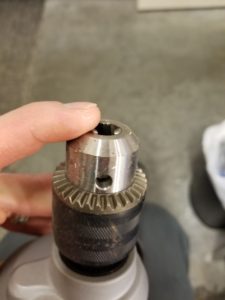
Gloves, especially loose-fitting ones can become caught and drag your hand into places you don’t want it to go. A drill with an empty chuck will probably be alright, but I will stick with my safety philosophy. You are free to choose what you’d like to do. If the drill chuck had grooves that were too sharp on my hand, I would opt for a tight pair of leather gloves.
After you’ve successfully “flashed the field”, it is good practice to let your generator run with a load for a while (30-60 minutes at least) to build up the residual magnetism back in the alternator so that you don’t have to deal with this again.
Won’t Start? Start a Generator’s Engine with a Cordless Drill
Let me start off by saying that I don’t support this method. I don’t like it. I don’t want anything to do with it if I can help it.
The dangers associated with it far outweigh the benefits, in my humble opinion. If it were life and death, sure, but I’m not going to risk my safety to simply have some light bulbs running during a 6-hour power outage.
What is it exactly that I’m so opposed to?
The use of a drill to get your flywheel and rotor to start spinning by attaching a socket to the end of your drill and placing it over the nut inside the starter cup that keeps the whole flywheel assembly on the generator.
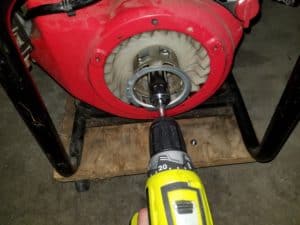
Don’t get me wrong, it certainly works and there are plenty of videos on Youtube to prove it.
The steps to start a generator’s engine with a drill are as follows:
(Not recommended, proceed at your own risk)
- Get everything ready on the generator as if you were starting it with the pull cord (choke on, open the fuel shutoff valve, etc.)
- Remove the recoil starter assembly (usually held on with 3-4 bolts) and it pulls straight out
- Find an appropriate sized socket to fit on the nut inside the starter cup that is securing everything on the shaft of the rotor
- Secure that socket to an attachment to fit in the drill chuck
- Turn your cordless drill to the forward (clockwise) position for the drill chuck
- Place the socket which is attached to the drill over the nut and press and hold the trigger until the engine starts
- Pull your drill away immediately when the engine starts or risk severe injury or property damage
The last step is the one that worries me. Your drill will spin at about 1,000-1,500 rpm’s (rotations per minute), whereas the generator will spin at 3,500-3,600 RPMs when it starts. I don’t care how strong you are – when that generator starts and you leave that socket on the nut of the rotor shaft for a fraction of a second too long it will rip that drill out of your hands faster than you can react.
You risk breaking your thumb, hand, and wrist just by trying to hang onto it. There’s also the risk of the generator throwing your drill across the room, or shooting a socket that comes detached. There’s also the danger of not only the drill spinning out of control in your hands but getting your hands tangled in the rotor cup or fan blades that are spinning at 3,600 RPMs as you fumble with your drill.
So no, I don’t recommend it but you can certainly start your generator’s engine with a drill.
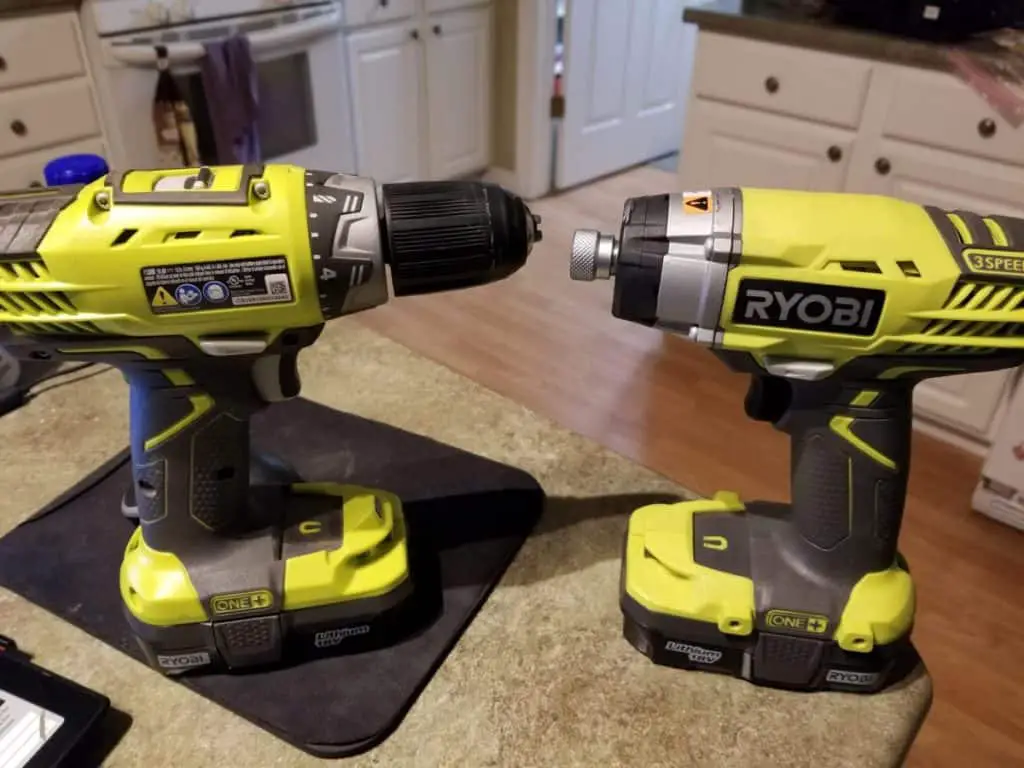
Note that if this is a risk you are willing to take, do not use a cordless impact driver as a substitute for a cordless drill. The risk is higher that you’ll actually torque and tighten the nut which can put pressure on the flywheel, crack it, or throw off the harmonics. If you crack or damage your flywheel, your generator will not be usable.
A safer method of starting a generator if you don’t have a functioning recoil cord assembly is to find a small rope (it could be the majority of what might be left from your recoil cord assembly) about 4′-6′ in length and make an overhand not on one end.
Then place that end inside the groove that’s cut out on the lip of the starter cup. Wrap the cord around the starter cup in a clockwise manner and leave yourself something to grab onto. Then, get your generator ready to run (choke engaged, fuel valve open, etc.). Pull the cord all the way through in one solid motion. The knot will fly out at you, so be aware of that, and you may have to do this a few times but you’ve essentially replaced your starter cord.
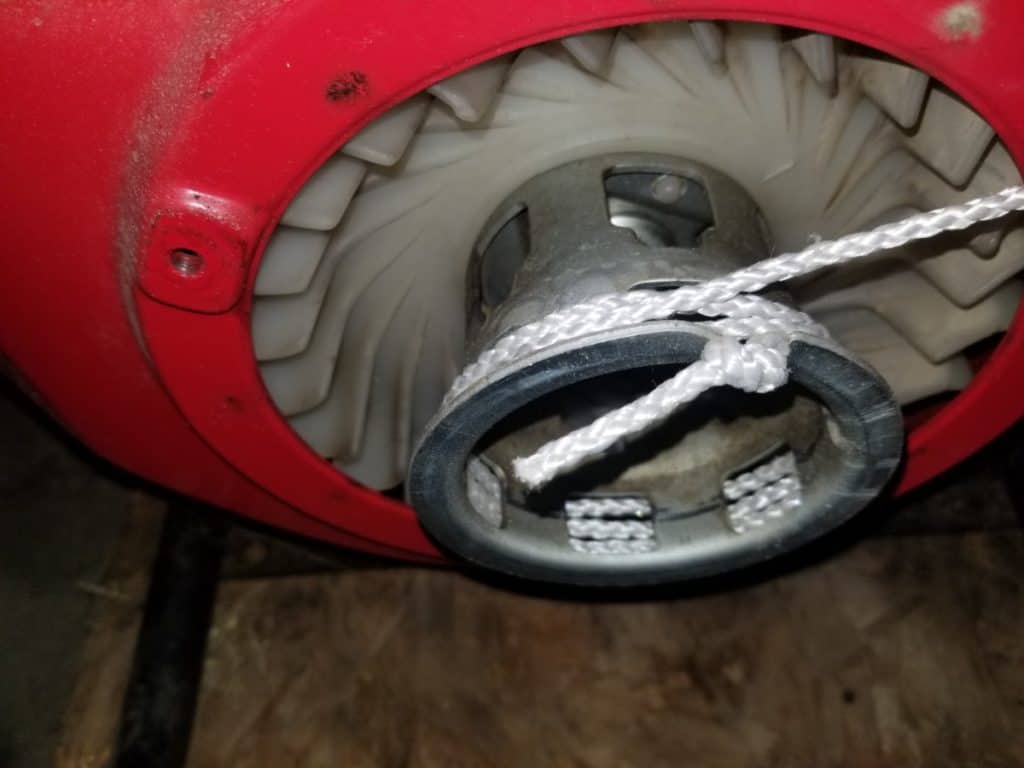
Though arguably safer than the drill method, they are both unsafe after being started due to the fan disk and rotor cup being exposed and spinning at 3,600 RPMs. If a pet, child, or anyone for that matter, touches it, there will be severe injuries or even possibly death. If you have to run a generator without the recoil cord assembly, make sure it is protected as well as possible from unauthorized users.
