Perhaps the most frustrating thing that can happen when your power goes out is to fire up your generator without a problem and then find that it isn’t producing any electricity. The engine is purring just fine but it can’t even light up a single lightbulb to lead you back into the house to tell your family that things are going to be dark for a while.
At that moment it’s understandable that you’d want to buy a new generator and sell the defective generator for scrap. There are, however, a few things you might want to look at before you go and get yourself a new one.
As a general rule, a generator will stop producing power if there is a tripped breaker, a bad outlet, the alternator loses its residual magnetism, the brushes are worn down, a defective breaker, a defective AVR (Automatic Voltage Regulator), or a capacitor might be bad.
Let’s cover each of these briefly with what you can do to either fix or replace what is needed to get things back up and running as soon as possible!
⬇⬇⬇ I’ve got a video below where I cover what’s in this article as well. ⬇⬇⬇
Tripped Breaker (Fuse)
First and foremost, if you’re not getting power to your appliances after you’ve turned on the AC power switch from your generator, then you should check to verify that you don’t have a tripped breaker.
There are two types of breakers that you might encounter:
- Circuit Breaker (fuses)
- GFCI Breaker
The circuit breakers (or fuses) are going to protect you from overloading the amp capacity of the generator. For example, if you have a 1kw generator and decide to try to power a microwave you are going to trip a circuit breaker (and hope that that’s all the damage that you do).
GFCI breakers are designed to trip when they sense that there isn’t enough power completing the circuit on the circuits designated route. Basically, they are programmed to sense a certain amount of power. If that power deviates from the norm, it trips and saves you from being shocked.
Another common way to trip circuit breakers is to use the wrong gauge of wire for what you’re trying to power (using too small a diameter), or plugging multiple cords together.
Keep in mind that it might just be a particular item that is tripping your breaker (either the circuit or GFCI) and it might not necessarily have anything to do with your generator. Test other items out, and even items of comparable wattage to see if the affected breaker still trips.
If it is a true emergency and you cannot get a generator to work and you are certain that it is the breaker that is at fault, you can technically bypass your breaker altogether. Before I continue, please read the next sentence more than once to get my feelings about the matter.
I DO NOT RECOMMEND BYPASSING YOUR CIRCUIT BREAKERS AND YOU ARE RESPONSIBLE FOR ANY DAMAGES, FIRE, OR DEATH THAT MAY OCCUR!
I’m just including this video to show that it can be done in a pinch and it is imperative to replace your defective breaker as soon as possible.
Bad Outlet
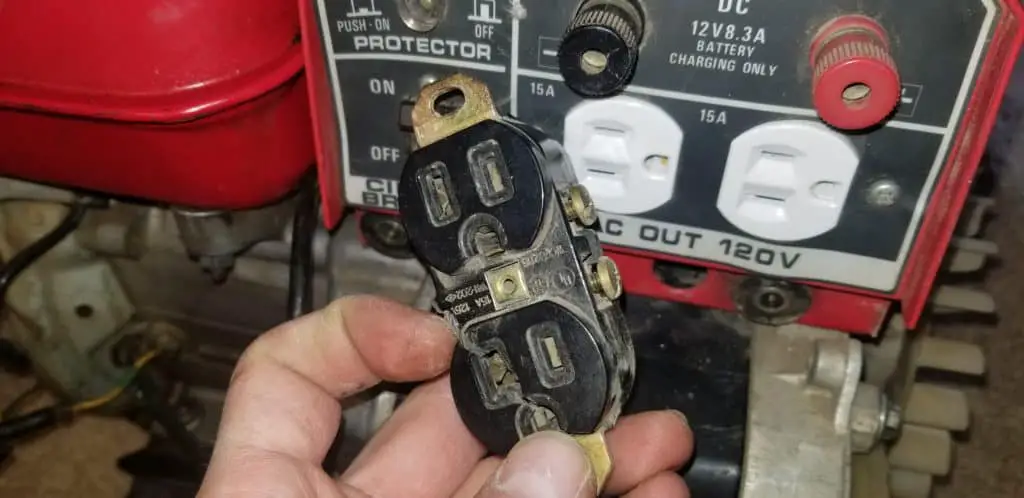
The next one is pretty simple and might be easy or hard to replace depending on your make or model. If you have a bad outlet, you might actually be producing power, but you might not be able to access it.
Sometimes outlets just go bad. No rhyme or reason to it. I’ve replaced lots of them in my maintenance job.
With the generator running, make sure the AC power is turned on and the breaker is not tripped. Use a multimeter to measure the AC voltage by placing the black lead in the smaller slot on the right (of a 120v outlet) and the red lead in the longer slot on the left. If you are not getting any reading, you might have a bad outlet.
Replace if necessary, but keep in mind that it could also be one of the other reasons in this article as to why you’re not getting power.
Loss of Residual Magnetism in the Alternator
Once you’ve verified that your breakers are not the problem, the next thing to do is see if you’ve got a loss of residual magnetism in your alternator. Electromagnets, like those in your generator’s alternator, need a bit of residual magnetism to be “primed” to get the electrical generation process going, for a lack of a better term.
Sometimes, after sitting unused for extended periods, allowing the generator to run out of gas with a load on it, or turning off the generator’s engine start switch with a load on it, a generator’s residual magnetism can be neutralized or lost.
Luckily, there are a few ways to fix this problem. My favorite involves something I saw when growing up and it involves using nothing more than a corded drill.
With the generator running, the AC power turned on, and the drill plugged in, try to start the drill. We are assuming that it will not run. Otherwise, you wouldn’t be reading this.
Now, make sure the drill is set to drill in the forward position (the chuck will turn clockwise if you’re holding the handle and it’s facing away from you). Then, press down on the trigger with your right hand and spin the empty drill chuck (do not have any drill bit inside!) backward, or counter-clockwise. Do this in a fast and flicking motion so that your hand is barely grabbing it during the process and is clear of the chuck after the spin.
You do not want your hand getting caught, and that is the reason I would discourage wearing gloves, but that’s your choice. I certainly wouldn’t want loose-fitting gloves.
It should only take 1-3 twists and your drill will start working in your hands.
Congratulations, give yourself a pat on the back! You’ve just “flashed the field”, as they say!
Here are some helpful visuals below, depending on what tool you might have around you.
(If you’ve got a Corded Drill)
(If you’ve got a 12v jump pack)
(If you’ve got a 12v car battery)
Brushes Worn
This is pretty much the last thing that you can easily check visually without learning how to use a multimeter to check resistance and voltages.
When you remove the cover to your generator’s alternator, you will see something relatively similar to what’s in the picture.
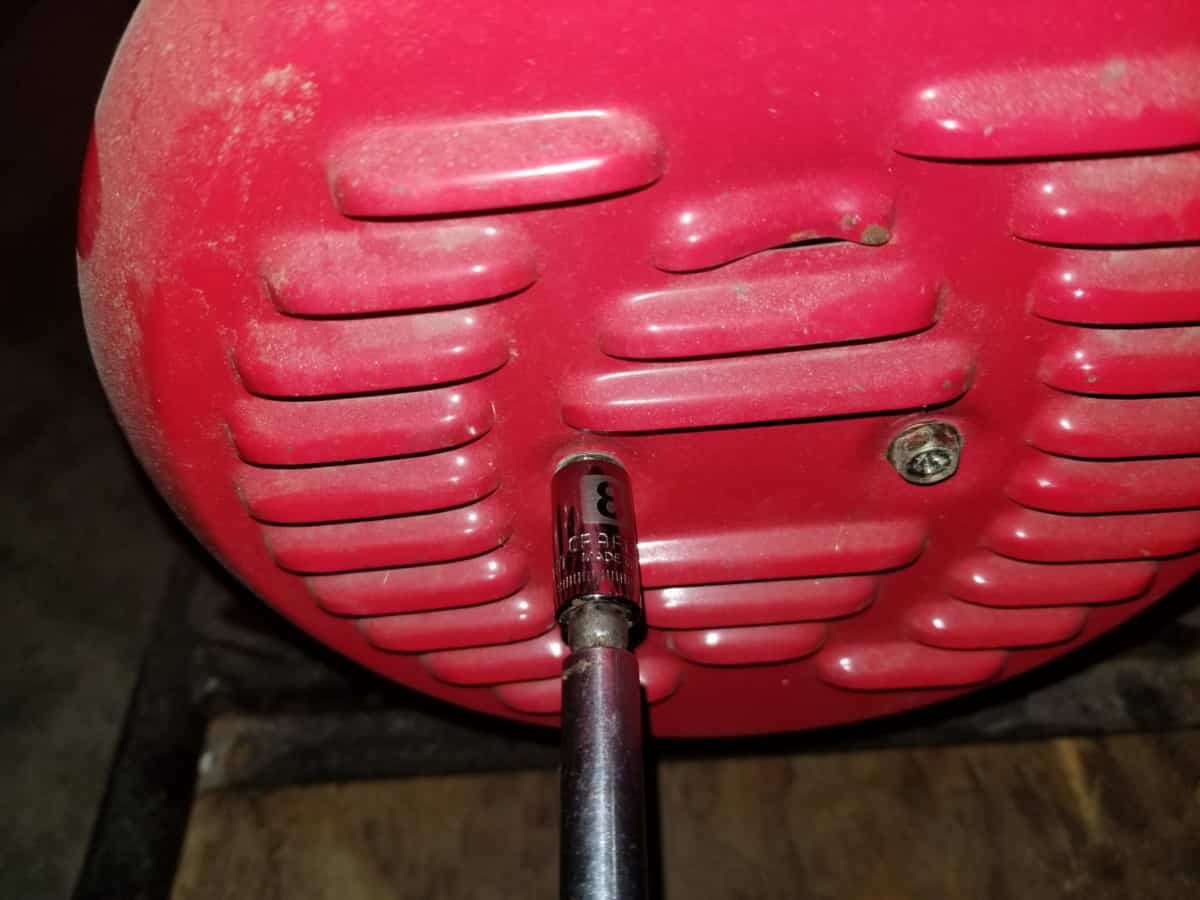
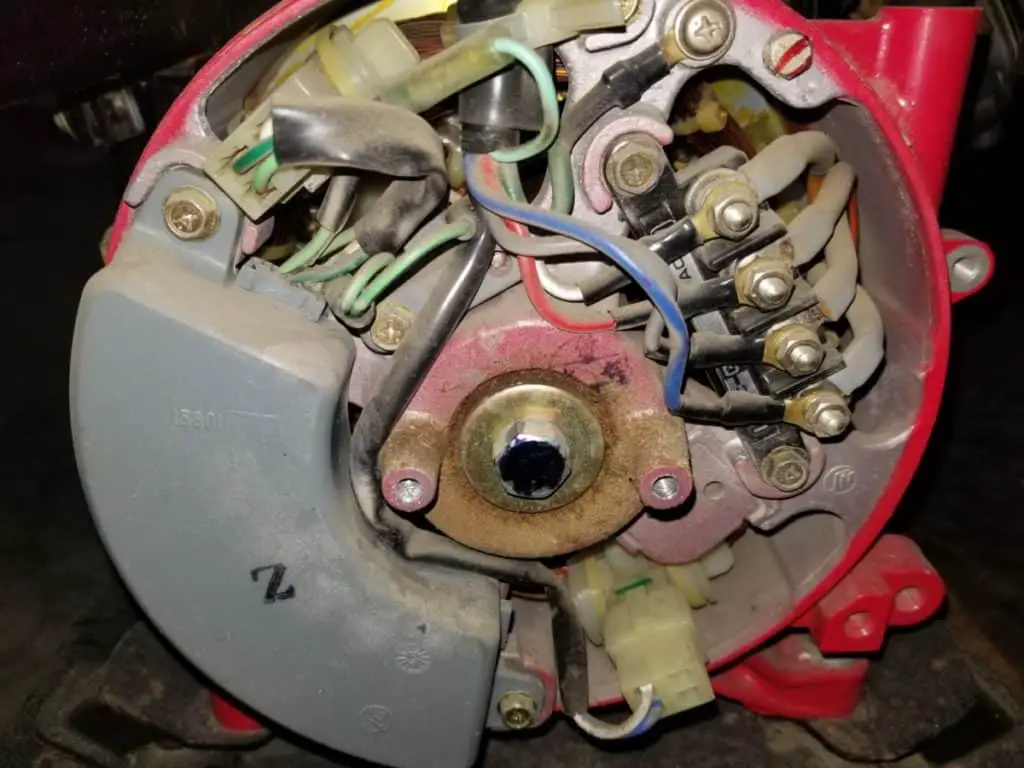
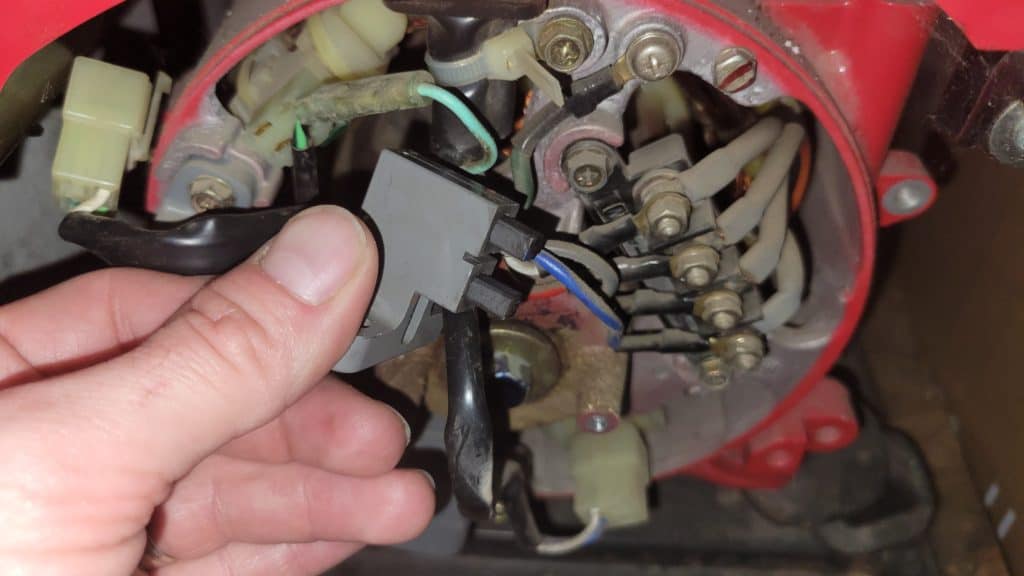
Usually, right above the bearing, you will see two spade connectors that connect to the brushes (carbon material that makes contact with the rotor). They are held in place by a screw. With the generator off, take a picture of how everything looks and the orientation of the wires and remove the spade connectors. Then, remove the screw.
Pull out the brush assembly and check to see if they look damaged, broken, or are sticking. The brushes are small rectangular carbon pieces that can be pushed into the assembly but want to pop back out.
Check the assembly itself for any burn marks or anything that just doesn’t look right.
More than likely your brushes are fine, but if they aren’t, go ahead and replace them.
Below are 2 videos on how to change out the brushes.
If you don’t have the knowledge of how to use a multimeter to measure resistance and voltages, then the following problems are going to be more on a “replace and pray” methodology.
Defective Breaker
AVR defective (Automatic Voltage Regulator)
Signs of a defective AVR would include:
- No voltage
- Low Voltage
- Voltage that does not respond to loads placed on the generator (assuming you haven’t exceeded the capacity of the generator)
Capacitor Defective (Brushless Generators)
There are many shapes, locations, and sizes of capacitors that might go bad on you. Below are two different videos with different capacitor issues.
This one (a brushless generator) has a cylindrical capacitor located under the cover to the alternator. It isn’t mentioned in the video, but whenever you’re dealing with capacitors you need to be very cautious. They are storage units for AC power and if your fingers bridge the two nodes on the end you will get a shock (which can be severe or deadly with certain capacitors). I don’t know the particulars on this one, and maybe it wasn’t enough to do any damage and that’s why it wasn’t mentioned.
This final video features another capacitor but this one is located under the outlet housing. The gentleman refers to the melted unit as an AVR (since it did have those letters on it) but it is actually a capacitor. So, when all else fails, take a look under your outlet housing for anything that looks burnt or melted.
