If you’re facing a dead car, lawnmower, or any other 12-volt, lead-acid battery for that matter, you have probably been frustrated when your smart battery charger won’t recognize the battery and refuses to charge.
This doesn’t necessarily mean that your battery is worthy of the disposal center!
A smart battery charger will not recognize a battery if the battery’s voltage is below the charger’s safety threshold. This is so the smart charger will not attempt to charge something that is not a battery. A jump from a good battery for a few minutes will provide enough surface charge to get the charger to work.
There’s a simple way to do this and I’ll cover that below and hopefully you’ll be back up and running in no time!
How to Make a Smart Charger to Recognize a Dead Battery
As I mentioned above, smart chargers are built with several safety features to prevent you from shocking something that isn’t a battery, from frying your charger by touching the leads together, and to prevent you from charging a battery when the incorrect leads are connected to the incorrect battery terminals.
While these are nice, and the pros definitely outweigh the cons, there comes the frustration when your smart charger won’t recognize a legitimate battery.
When you hook up the leads to the battery, the smart charger attempts to sense an initial surface charge so that it recognizes that it is indeed connected to a battery. Only when that surface charge is recognized will it begin to pump in a current to bring the battery to a full charge.
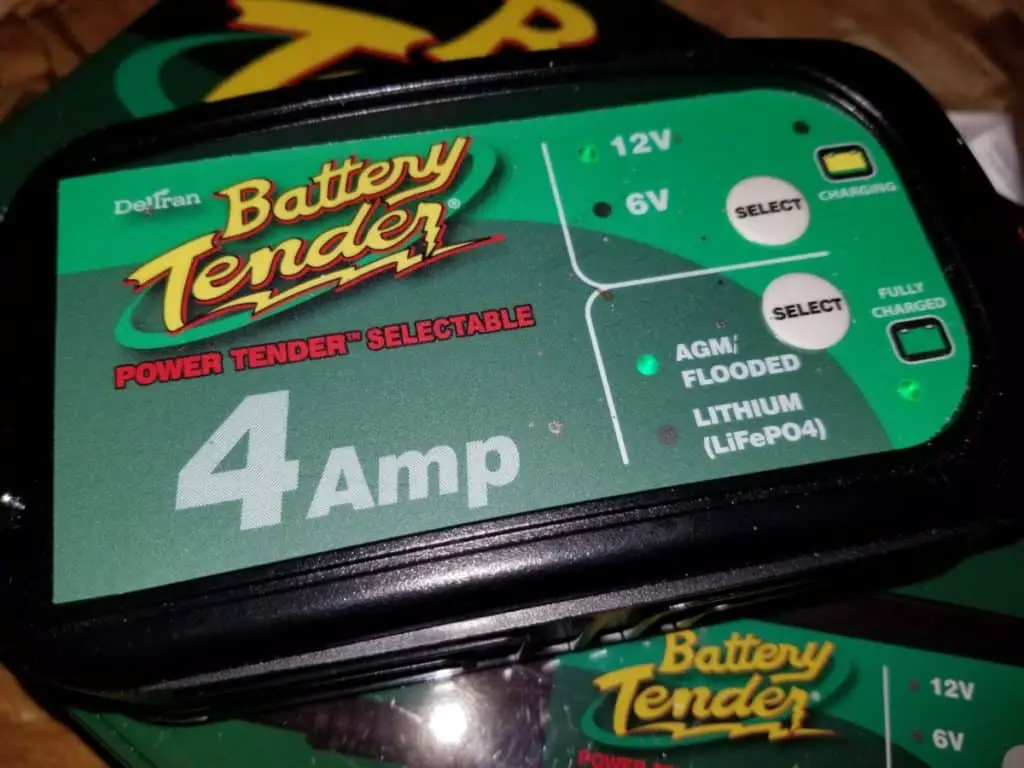
For chargers like a Deltran Battery Tender, seen here on Amazon, the minimum is 9-volts (for a 12-volt battery) or 1.5-volts per cell. Anything below 9-volts will result in the smart charger acting like a paperweight and giving you an error light.

How do we go ahead and fix this?
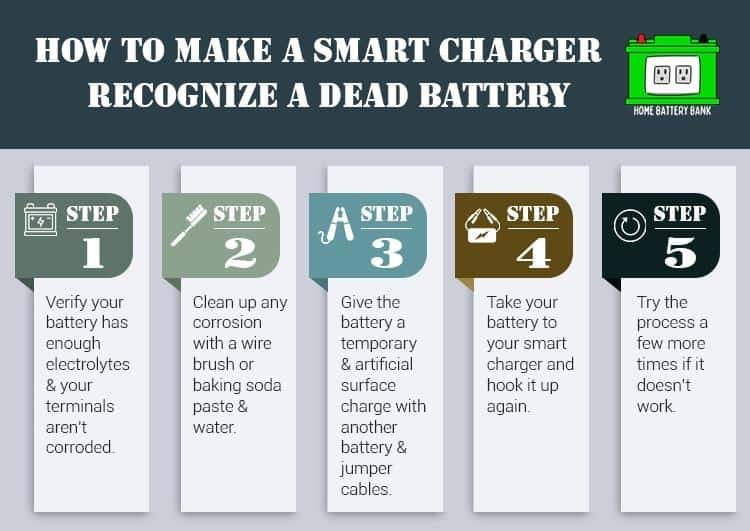
First, verify that:
Your battery has enough electrolyte to at least cover the lead plates (for flooded lead-acid batteries, not sealed)
Verify that your terminals aren’t corroded and preventing the smart charger from making a proper connection.
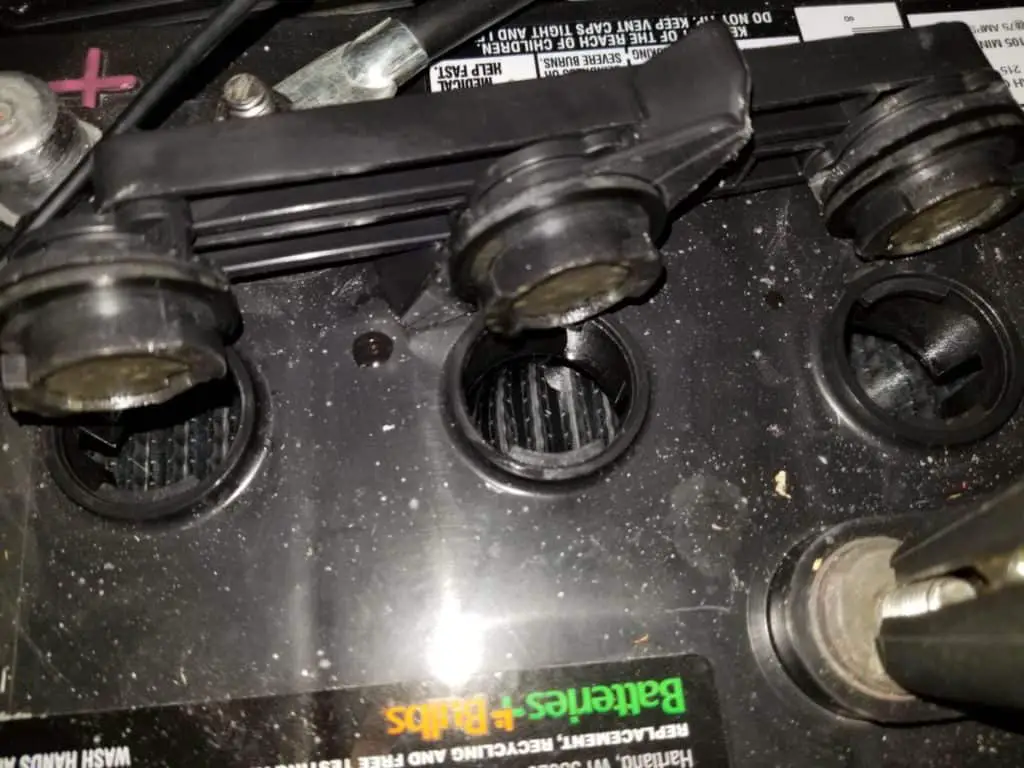
If you have a flooded battery and can remove the cap to expose the fill holes for the individual cells, make sure that you have enough liquid covering the lead plates inside. If you don’t, add only distilled water and add just enough to come up about 1/8″ above the plates.
I recommend adding the water with a plastic syringe used for children’s medicine to prevent spilling. After the battery has charged, we will add more water so that it comes up about 1/8″ below the fill line. After that, we will hook the smart charger to the battery again.
Also, clean up any corrosion with a wire brush. You can also use a paste of baking soda and water to help with anything that is stubborn. Be careful not to get the corrosion on your clothes or you will have holes in them, and also make sure to wear eye protection!
Now, the trick is to give the battery a temporary and artificial surface charge with another battery — and preferably a car with a functioning battery and jumper cables.

If your car battery is 12-volts, and the battery in question is 12-volts, then you can take a set of jumper cables and hook them up in the appropriate order as if you were jumping another car battery.
With the car running, hook one of the positive ends (red) of the jumper cables to the positive terminal on the bad battery, and then the other positive cable to the positive terminal of the good battery. Then hook the negative (black) end to the good battery and finally the other negative end to the negative terminal of the bad battery.
Again, make sure to have safety glasses on.
Then, wait for about 1-2 minutes. You can do this with a functioning car battery and a lawnmower battery, as long as they are both 12-volt batteries.
After 1-2 minutes, disconnect the jumper cables in the reverse order of how you installed them.
Take your battery to your smart charger and hook it up again. The battery should have enough of a superficial surface charge to trigger the battery charger to start the charging process!
If it doesn’t work, you can try the process a few more times before you give up.
If you do this without a running vehicle and just opt to use a good battery to give the dead battery a boost, be very careful and do not allow them to be connected very long. The good battery will likely treat the dead battery as a “direct short” and things will get hot very fast as it attempts to quickly dump its current into the bad one and you can risk an explosion of battery acid.
In the case with the battery connected to the running vehicle, the alternator is what is charging both batteries. Still, you shouldn’t allow this to go very long without disconnecting as it is a crude way to charge a battery. Remember, we’re not looking to charge the battery. We’re looking to put just enough current into it to trick the smart charger into starting the charging process.
What Could Cause A Battery to Not Keep a Surface Charge
If you have a bad or shorted out cell (cells) in your battery, then your battery is worthy of the graveyard. There’s nothing that you’re going to be able to do unless you want to follow the advice of people on youtube who are showing how to revitalize a dead battery with different chemicals.
I’m not a fan of the danger associated with messing with batteries in that manner, but that decision is up to you.
If you have a bad cell, it creates higher internal resistance which makes a charger work harder to charge the battery (if you can even get it to recognize the battery). The charger will try to bring the good cells up to a higher voltage than they were designed to be in order to make the total battery voltage around 12.6-12.7 volts.
Because the good cells can’t sustain such a high voltage and make up for the missing voltage of the bad cells, they will be in a state of overcharging which will evaporate out the water, expose the lead plates, and cause them to sulfate and short out as well.

Essentially, a dead cell will cause the other ones to die during the charging process.
You can test each cell on a flooded lead-acid battery with a hydrometer if you’re interested.
If you have a sealed battery, they can tolerate low levels of overcharging and recycle the evaporated water back into the electrolyte. If the overcharging is too high or goes on for too long you will not be able to replace the water levels that are lost as the battery vents out the pressure to avoid structural damage.
Let Me Know How it Goes!
Let me know if this trick worked for you or if you have a different way of getting a smart charger to recognize a dead battery! Good luck!
contact.homebatterybank@gmail.com
