If you recently bought a vehicle or if you simply forgot about the maintenance schedule on your current car, you might be wondering exactly the age of your car battery.
Depending on your regional climate, temperatures, personal driving habits and amount of maintenance you’ve provided your battery, you’re looking at a lifespan of about 2-4 years — with 3 being the most common.
You can tell how old a car battery is by checking the dated sticker that is placed on the top of the battery after the electrolyte has been activated, which is generally done by the manufacturer. An alphanumeric code is also burned into the plastic case and indicates the date of manufacture.
Though it’s convenient to know the age of a battery to give you an estimate of how long you can expect it to last, the actual age of the battery is secondary to the condition of each of the cells within that battery.
Let’s take a quick look at all the important points to get you on your way!
Car Battery Age Indicated by Sticker and Stamp
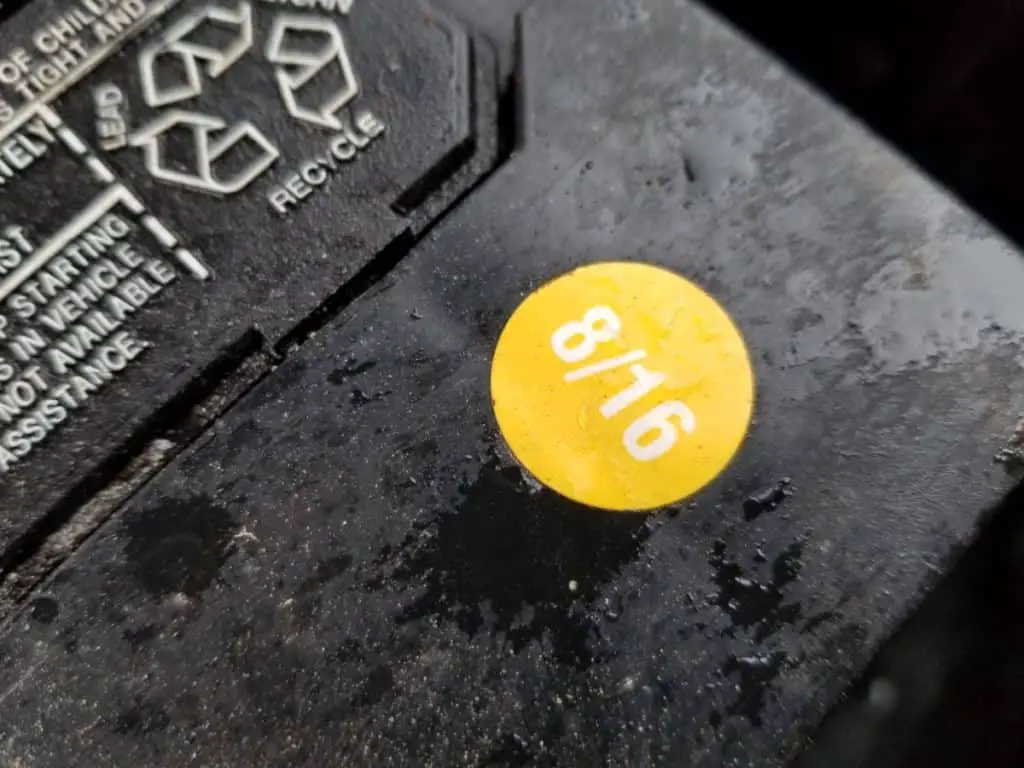
When you pop your hood, and wipe away and dirt and debris, you should see a round sticker about the size of a quarter that will contain a month followed by a year. It will look like the picture below, which reads, “8/16”. This battery was manufactured in August of 2016 and yes, being that it is 2020 I definitely need to test my battery before the upcoming winter!

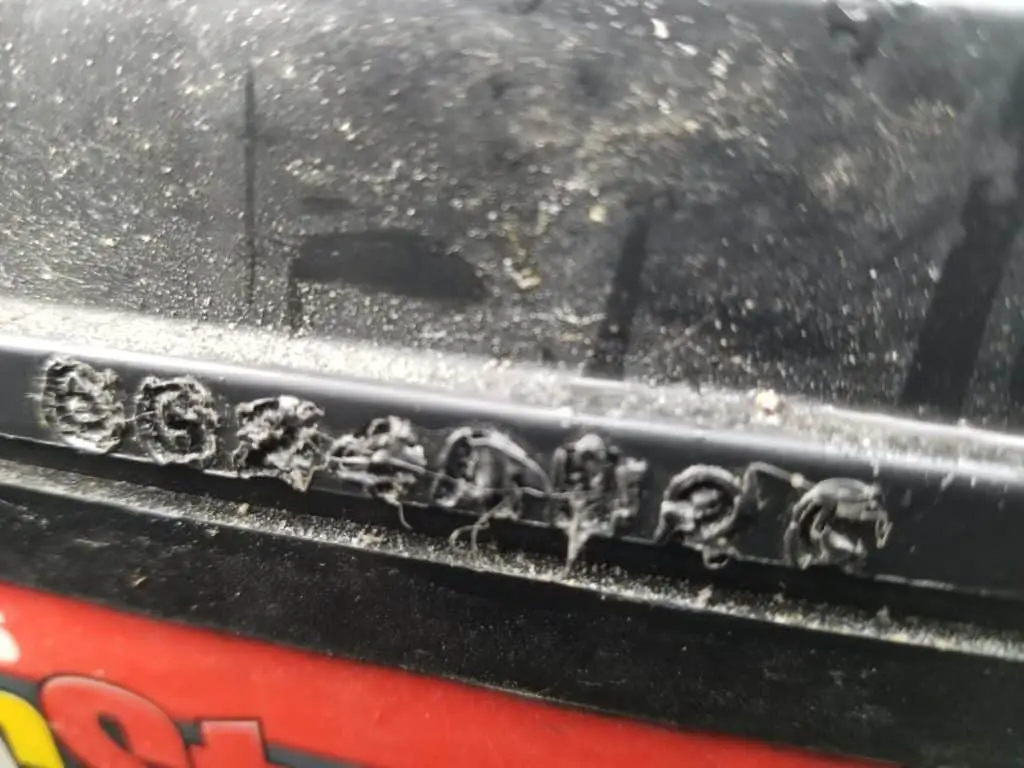
If you were missing this sticker or couldn’t read it, you could also look for a stamp that has been melted into the plastic case of the battery.

These stamps will be alphanumeric (containing letters and numbers) and will be specific to the manufacturer.
However, many treat the first two characters as the original date of manufacture. There will be a letter and a number (the order is often interchangeable).
The letter will indicate the month with A = January, and M = December. I know, “M” is the thirteenth number in the alphabet and we only have 12 months. Many manufacturers skip the letter “I” since I’m assuming it can be confused with the number “1”.
You can see on my battery below that the first two characters are “6” and “G”. This would mean this battery was manufactured in 2016 and in the month of July.
The sticker said August, so I’m assuming that’s when it was filled with electrolyte and activated. Remember, batteries are manufactured dry and must be activated by adding acid.
A Car Battery’s Age is Not as Important as its Condition
The problem with caring about a car battery’s age instead of its condition is that nobody has the exact same driving habits, climate, temperatures, and maintenance knowledge which all directly affect the lifespan of a battery.
We might all think that a car battery gets used 3 days per week for a total of 6 starts, that the car is driven for 30 minutes each time, that the car is stored in a climate controlled garage, and that it is serviced on a monthly basis with a dedicated charge and a checking of the electrolyte.
This is simply not the case.
If a car battery is used once every 2 weeks to drive 10 minutes each way, and is in a car that is left on the blacktop, then that car battery will be lucky to survive a year.
If a car battery is used twice a week, parked in a garage where the owner has a quick connect to a battery maintainer to keep it at 100% and she also tops off the electrolyte monthly — then that car battery might go 5+ years without a problem.
What we want to know is the condition of each of the battery’s cells in order to judge a car battery — not the age.
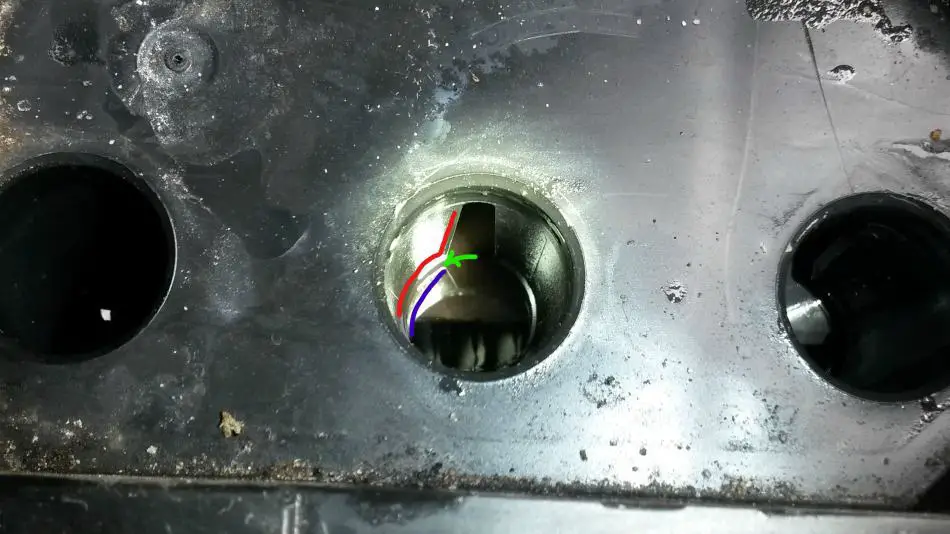
If you have a flooded battery which is one where you can pop the caps and look into the battery, then you can use a hydrometer like this one on Amazon to check each of the 6 cells after a full charge and after disconnecting it from the charger and the vehicle (the negative terminal) and letting it “rest” for at least 6 hours. This will allow the voltage to level off.
You also want to use a multimeter to test the voltage of the car battery with the negative terminal and charger disconnected. Test the voltage after 6 hours, 12 hours, and 24 hours if you can do so.
If you see a severe dip in the voltage from the previous reading (assuming you’ve allowed it to rest for 6 hours after disconnecting it from the charger). If you test right after a charge, you will read anywhere from 12.75-13.1. After it sits for a bit, the true voltage will reveal itself since the excess is just surface charge.
If you have a sealed battery, you cannot check the specific gravity of each of the cells. However, you can perform a “load test” or have a mechanic do it for you. This will tell you the overall health of your battery based on its performance when compared to its specs from the manufacturer.
This load tester on Amazon is affordable, reliable, and extremely handy to test out your car’s battery. You can also perform this test on flooded batteries.
I would follow the same instructions as with a flooded battery when you want to do a load test. Charge the battery, disconnect it from the charger and car, and let it sit for a bit so that you get an accurate reading.
How to Get the Most Out of Your Car Battery
If you have a flooded battery, it is imperative that you check the electrolyte levels quarterly, if not monthly. Low electrolyte changes the sulfuric acid to water ratio and can corrode your battery internally which will cause premature failure.
If your levels are low, charge the battery first with a dedicated charger and then add distilled water until the level is just below the bottom of the fill tubes.

Only add water before charging if the levels are so low that the lead plates are exposed. If that’s the case, only add enough water to cover the plates, then charge, and then top them off.
If you don’t drive often, consider adding some quick connect cables to your battery terminals and plug them into a charger on a weekly basis or keep it hooked up until your next drive as long as the charger is a smart charger with a “float/maintenance” mode.
I highly recommend this 5-amp charger and maintainer from Amazon. I’ve been using it for over 5 years and it has worked flawlessly. Permanently mount the eyelet cables to your threaded terminal studs with a lock-washer and when you need to charge your car in the garage or outside you just connect the end of the battery charger into the quick-connect.
Keep in mind that short drives are stressful on your battery and create a vicious circle. On short trips a battery cannot recharge itself enough from the car’s alternator. The battery then sits partially discharged and is drained further from the parasitic drain of your car’s electronics. The state of partial charge causes lead sulfate to form on the battery plates which makes it even harder for the battery to charge the next time you drive.

