By far, the most common reason for a generator that runs poorly or doesn’t run at all is due to the owner (or previous owner) leaving untreated gasoline in the tank, carburetor, and fuel lines for months — if not years — at a time.
If you made this mistake or scored a great deal on a “dud” because a previous owner did it, you probably aren’t going to be out much more than one hour of your time and a bottle of carburetor cleaner.
To fix a generator with old gas, it is easiest to drain the fuel tank by removing fuel line from the carburetor and opening the fuel valve, allowing the old gas to drain into a proper container. Replace with fresh fuel and thoroughly clean the carburetor for proper combustion.
Don’t worry if you’ve never got a generator back in proper working order after it’s been left with bad gas in it. It’s a lot easier than you think and can be done with a minimum amount of tools.
If you don’t have any tools handy and you’ve got a day or two to wait for an order from Amazon, this small little ratchet and socket kit and multibit screwdriver set should provide you with all that you need to service your generator for this particular issue.
Remember that untreated gas will start going bad after 1-3 months and will significantly give you performance issues after even 6 months. If you treated the gasoline with Stabil or SeaFoam (my favorite) when you purchased it, you should easily get 1-2 years out of your fuel.
If you still think bad gas is an issue, let’s get started!
Step 1: Drain the Bad Gas
There are many ways to do this but since we’re going to be taking off the carburetor in the next step, I recommend removing the air filter assembly (held on by a few nuts and bolts) so that you will be able to see the fuel line better. You could also simply open the drain bolt at the bottom of your carburetor bowl and open the fuel valve to get the same results, but it might be a tad slower.
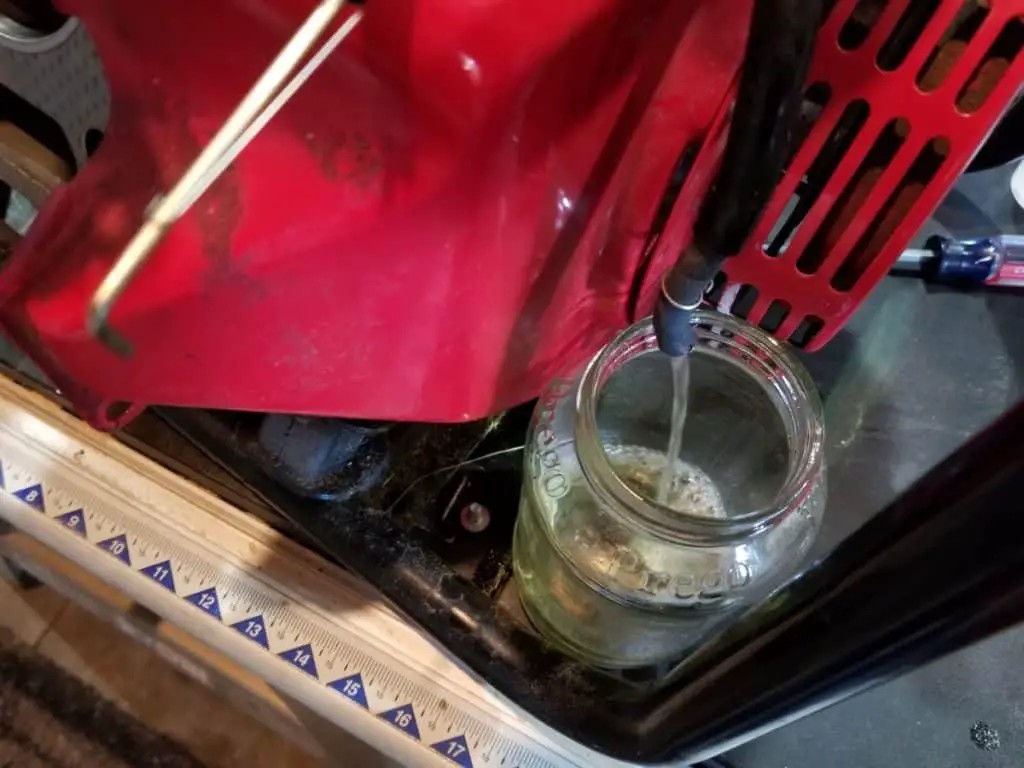
Now, turn off the fuel shutoff valve (petcock) and find a point in the line where you would like to disconnect it. I recommend where it connects to the carburetor or after the inline fuel filter (if you have an inline fuel filter) so that you can see the flow rate as it passes through the filter to give you an idea of it’s clogged and needs replacing.
Place the hose in a proper container to collect gas (and empty fuel container or a jar to dump it into one if you can’t fit in a gas can where you’re working). Open the fuel valve and let it all drain out.
Step 2: Remove and Clean the Carburetor
Next, you’ll want to remove the air filter assembly to get to the carburetor. Once it’s removed, you’ll need to loosed the bolt on the bottom of the carburetor bowl, place a jar under it, and then remove the bolt to let the remaining gasoline in the carburetor to drain out.
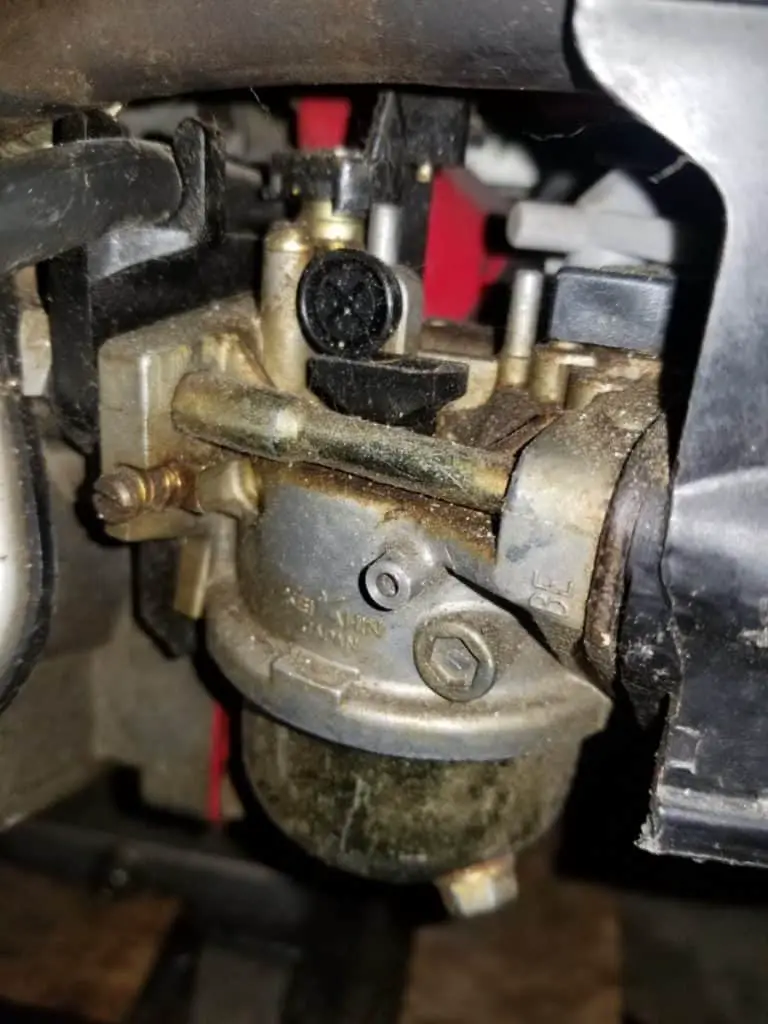
You can either use the bolt in the center of the bowl or the one that is canted off on an angle to do this, but you’ll but you’ll have to remove the center bolt anyway to clean the carburetor.
With the gas drained out, turn the throttle lever on the back side of the carburetor to remove the linkage and spring that come from the governor.
Then, you’ll need to do a thorough cleaning if the carburetor to ensure that you remove any of the sludge or varnish that occurs with bad gas when it sits over a long period of time.
I have an entire article here dedicated to the proper step-by-step cleaning process and a video tutorial as well. The first time you do it will take a while, but after you do one or two they really aren’t that bad at all and you can probably knock one out in a half-hour from start to finish.
Step 3: Inspect fuel lines, In-Line Fuel Filter, and Mesh Pickup In Gas Tank
With the gasoline completely drained out of the generator and the carburetor cleaned, now is the perfect time to inspect the fuel lines, the fuel filter, and the mesh pickup tube inside the gas tank.
If the fuel lines look cracked on the ends, it is best to replace them with the same diameter lines. Here’s a link to some Brigg’s and Stratton 1/4″ fuel line from Amazon. That’s the most popular diameter you’ll come across.
Next, take a look at the inline fuel filter if it has one. Remove the fuel lines from both ends of it and look in the hole to see how much debris you see. Ideally, it’s just a fine mesh screen and you should be able to almost see daylight through it and you should be able to blow through it like a straw.
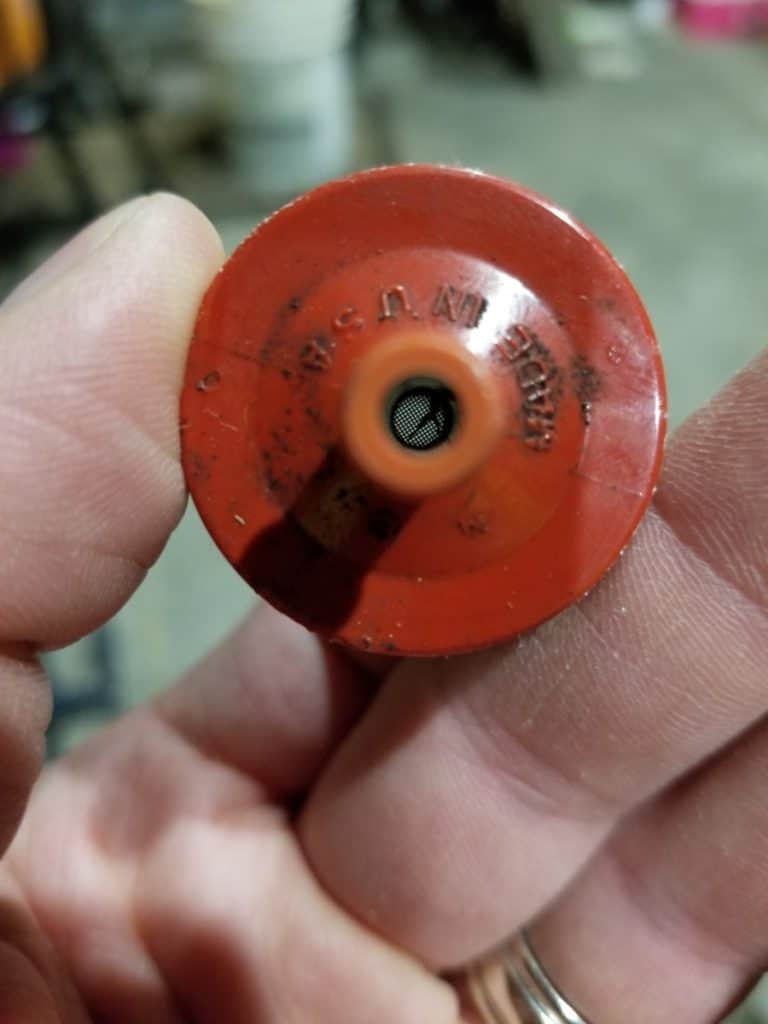
If you have significant resistance when blowing through it, replace it. They are very inexpensive and you can a quality one here from Amazon.
If you don’t have an inline fuel filter, you may have a filter located directly beneath your fuel shutoff valve. If that’s the case, unscrew the bottom and remove it to reveal different mesh screens that need to be cleaned. Use an old toothbrush and gently clean them with a fresh solvent like new gasoline or SeaFoam.
Finally, make sure at least one section of the fuel line is connected to the gas tank and have the fuel shutoff valve closed. Then, pour in a jar full of gasoline in the tank. Place the fuel line in the same jar and turn the fuel valve on. Check the rate of flow.
Since bad gas was left in the tank, there’s a good possibility that the gas has gummed up the fine mesh pickup tube that sticks up into your tank where the fuel line connects. It might look clean, but the fine mesh pores can easily get closed up when bad gas turns to varnish.
If your rate of flow is poor, you will likely need to remove the gas tank to replace that pickup tube.
Honestly, I haven’t tried it yet, but before I would do that I would attempt to clean the mesh screen with an old toothbrush that has been taped onto a wooden dowel. Close the fuel valve, pour in a jar of a 50/50 mix of SeaFoam and ethanol-free gasoline, and then scrub away gently and let it sit overnight.
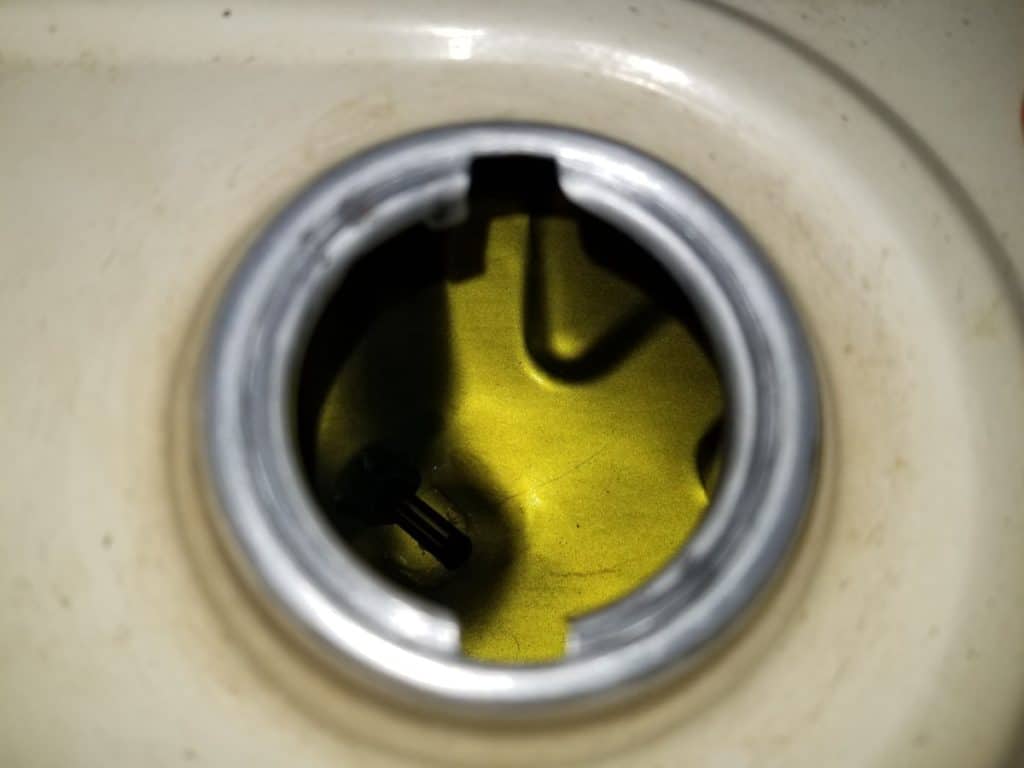
Scrub again in the morning and place the fuel line in the jar again and open the fuel valve. See if it has improved. SeaFoam is great at breaking up the residue left by bad gasoline and it’s worth a shot before you tear into things unnecessarily.
How to Prevent Bad Gas in a Generator
Preventing your generator from suffering from the effects of bad gasoline is actually very simple.
Use ethanol-free gasoline that has been treated with SeaFoam or Stabil to get 1-2 years of use. This will ensure that your gasoline will not succumb to the effects of oxygen and evaporation as it sits in your unit. Ethanol-free gasoline will also be less prone to getting moisture from the air into it, as ethanol wants to bond with water.
Make sure your fuel tank is filled to the max-fill line during storage to prevent excessive condensation (water) from forming on the inner walls of the fuel tank when the temperatures get cold.
When you shut off your generator for storage, do so by simply turning off the fuel shutoff valve while it’s running and it will stall on its own as it uses the remainder of the gasoline that it can find in the fuel lines and the carburetor bowl.
Or, you can turn off the engine start switch, then turn off the fuel valve, and then drain the carburetor bowl by removing the bolt at the bottom.
With either method, pull the recoil starter cord once or twice to force any remaining gasoline out of the jets. Now, your generator is ready for storage and the carburetor won’t have the possibility of gas going bad in it and the float will descend which will relax the float needle from constantly pressing on the seat which deforms it over time.
Simply start your generator up every couple months for 15 minutes or so and place a decent load (relative to the size of your generator) on it for a couple minutes (I prefer a circular saw — if your generator can handle 1,500 watts). When done, repeat the steps above for storage again.
Do this, and you’ll always have a generator that starts on the first or second pull and will be there for you in an emergency!
