One of the easiest ways to make your refrigerator run more efficiently and to extend the life of your appliance is to make sure you regularly clean the condenser coils. These are the swirly looking things located either behind or underneath your refrigerator.
These coils naturally attract dust and pet hair and when they become matted with this insulation they will no longer release the heat that the refrigeration system needs to get rid of to cool properly.
Cleaning your fridge’s condenser coils is something any homeowner or apartment dweller can do and professional assistance is not required.
Let’s take a look at how to clean your refrigerator’s condenser coils and answer some commonly asked questions.
How To Clean a Refrigerator’s Condenser Coils
Let’s break this down on whether or not your fridge’s coils are located behind the unit or underneath. One is very easy to access and the other requires a little more work to get to.
Cleaning Condenser Coils Located Underneath a Fridge:
If your coils are underneath your fridge, you’ll need the following tools to clean them:
- Screwdriver (nut drive, or impact driver) to remove the screws on the back panel
- A Box Fan
- A Furnace Filter (or thin 3’x3′ cloth)
- Air Compressor (canned air with a straw may work, I haven’t tried it though)
- Vacuum with a Hose
Step 1: Pull fridge out and remove the back panel at the bottom with the screwdriver, unplug fridge.
Step 2: Open fridge doors, grab the grill at the bottom and pull up and out from the far ends to expose the coils. The grill is held in place by push tabs so they will give you a moderate amount of resistance but will pop free as long as you’re grabbing from the far left and far right edges.
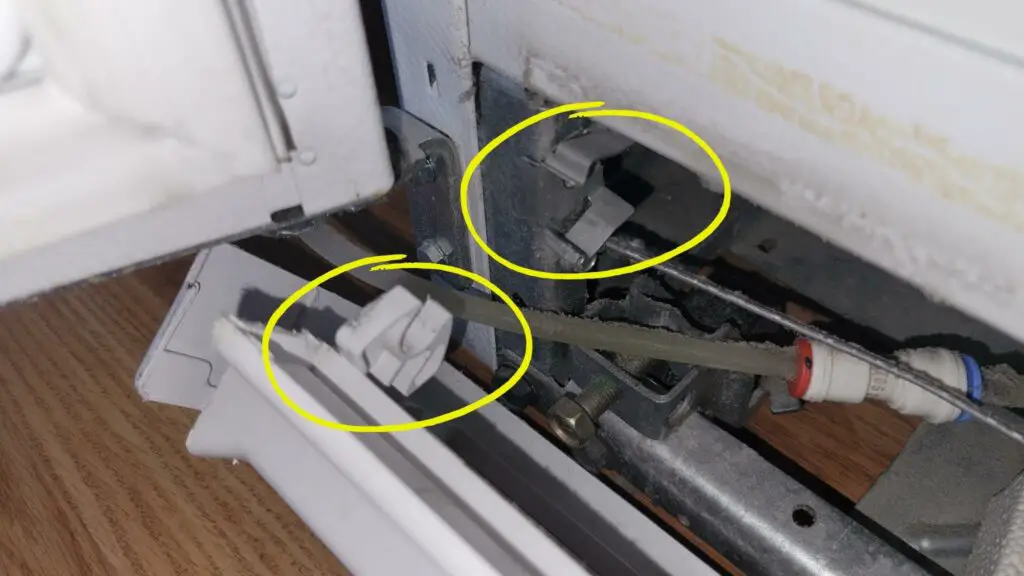
Step 3: Place the box fan behind the fridge so that it blows away from the fridge, and place the furnace filter or thin linen (that will act like a filter) on the backside of the fan and between the fridge. Turn the fan on high speed and place it directly against the fridge with the filter between.
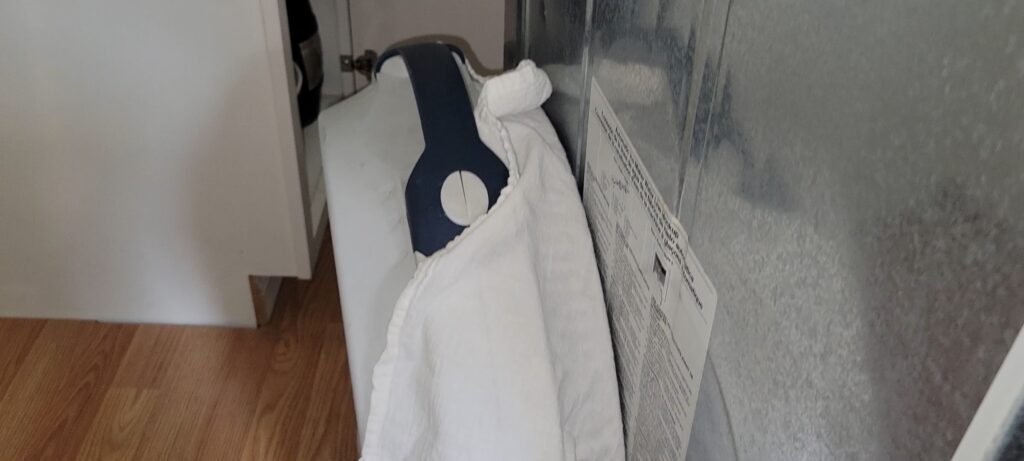
Step 4: From the front use the air compressor to blow the dust off the coils until you achieve the desired level of cleanliness.
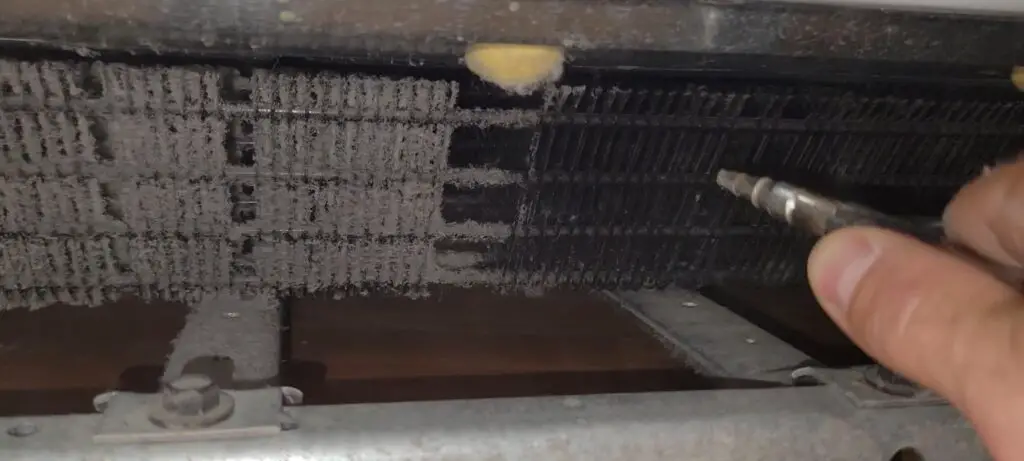
Step 5: Tip the fan over to reveal the filter and then unplug the fan. Shake the filter off outside.
Step 6: Place the fan on the front side so that it blows away from the fridge and once again place the filter between them.
Step 7: Use the air compressor to reach any of the coils on the reverse side that didn’t get fully cleaned.
Step 8: Turn off the fan and shake the filter off outside. Replace the back panel and front grill in the reverse order that you removed them (remember to open the doors to replace the grill). Push the fridge back in place. Vacuum up any dust the escaped the filter.
Cleaning Condenser Coils Located Underneath a Fridge:
If your condenser coils are located behind your fridge, then you’ll need the following tools:
- Vacuum with a Hose
- A cheap, long-bristled paint brush
- Screwdriver (depending on your make and model)
Step 1: Gently pull the refrigerator out from the wall and unplug it.
Step 2: Unscrew the back panel (if your coils aren’t already exposed).
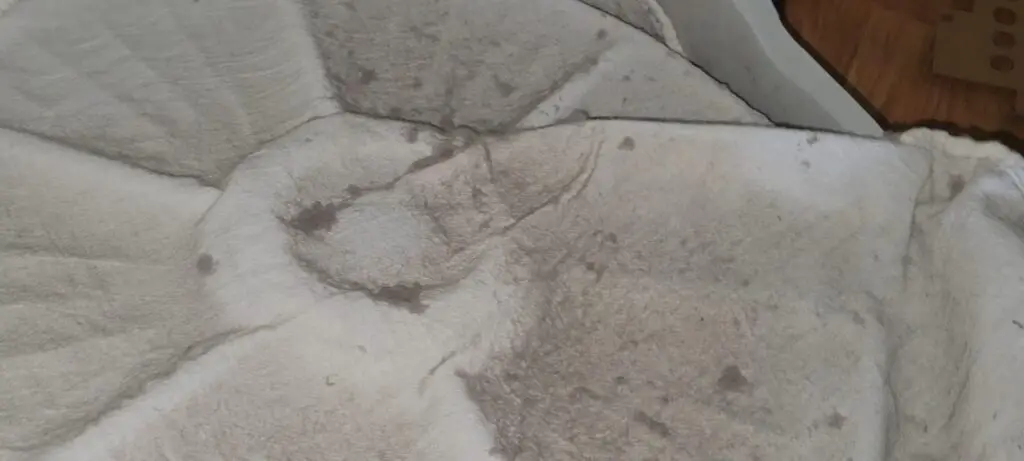
Step 3: Use the hose from the vacuum to do a bulk cleanup of the majority of the dust and dander that covers the coils.
Step 4: Use the long-bristled paint brush to brush off the coils to remove anything the vacuum missed.
Step 5: Vacuum up any of the dust that fell on the floor, replace the panel for the coils, plug the fridge in, and push it back in place.
What Happens if Refrigerator Coils are Dirty
Refrigerator condenser coils need to be clean in order to vent out excess heat from the refrigeration process.
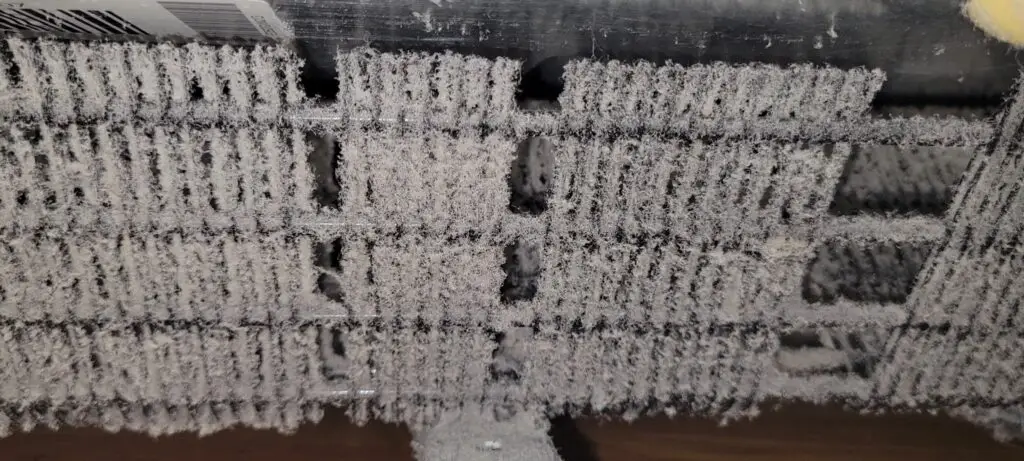
If left unchecked, they quickly become caked with dust and pet hair over the course of a year (or more!). This thick layer of dust and hair insulates the coils and holds the heat in the system that is supposed to be vented out. This causes your compressor to work longer and harder to cool your fridge and freezer off. In time, you’ll burn out your compressor faster than you otherwise would have and you likely won’t be able to achieve the desired temperature.
Let’s briefly cover how this whole process works so that you will see why having clean coils is important.
The refrigerant system of the fridge is a sealed system and travels over and over again in a cycle to absorb warmer air with a set of coils from inside the fridge, and dissipate that warmth away through another set of coils outside the fridge.
The compressor is what cycles the refrigerant throughout the fridge’s system. The compressor itself compresses (I know, right?) the refrigerant which increases the pressure on the refrigerant and therefore the temperature.
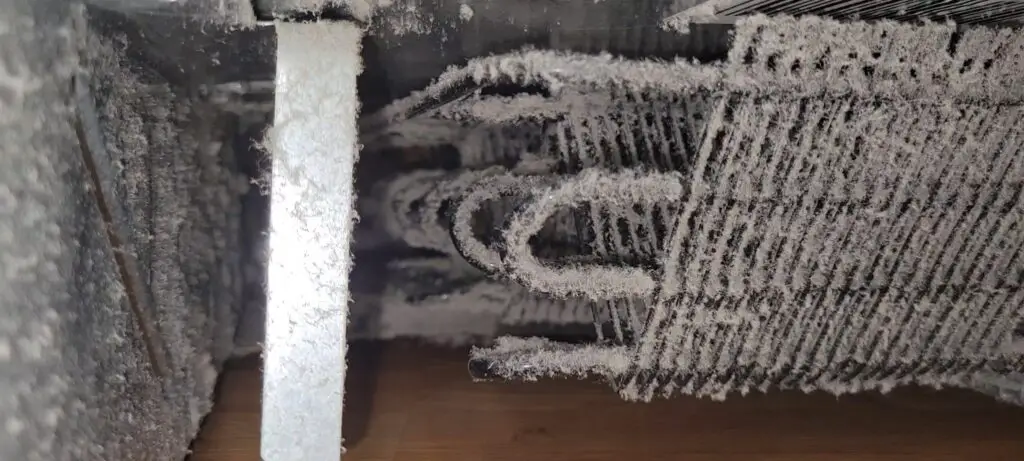
The hot refrigerant then enters the condenser coils (what we’re aiming to clean) where the heat from the refrigerant is supposed to be whisked away from the coils via a convective breeze with the help of a small fan nearby on the refrigerator itself.
As long as the coils are clean and can get rid of that heat, the lower temperature refrigerant would now go to capillary tube which would lower the pressure on the refrigerant and therefore lower the temperature as well to a very cold state as it would then pass through a series of evaporator coils inside the fridge.
Warmer air inside the fridge and freezer would be blown across these even colder evaporator coils with the help of the evaporator fan and the colder evaporator coils would absorb some of the heat from the air inside the fridge and freezer.
The now warmer refrigerant travels back to the compressor and repeats the cycle.
If left unchecked, the condenser coils quickly become caked with dust over the course of a year (or more!). This thick layer of dust insulates the coils and holds the heat in the system that is supposed to be vented out. This causes your compressor to work longer and harder to cool your fridge and freezer off. In time, you’ll burn out your compressor faster than you otherwise would have.
How Often Should you Clean the Coils Under a Refrigerator?
A typical household without a pet or pets should clean their condenser coils under their refrigerator on a yearly basis to remove any dust that has accumulated. If a household has one or more pets, this process should be conducted every 6 months.
Unfortunately, pets shed their hair and that hair is easily pulled into the bottom of the refrigerator by the fridge’s condenser fan as it tries to cool off the condenser coils.
Following the steps outlined above (or watching the video above) is an excellent way to make sure your refrigerator will continue to run smoothly.
Do You Have to Unplug Fridge to Clean Coils?
It is always best to unplug any appliance when servicing it. Unplugging the refrigerator is important so that it will shut off the condenser fan which will make a big mess in the kitchen with the dust that you are trying to clean off the coils.
The condenser fan draws air in from one side of the bottom of the fridge and expels it out the other side. Any dust or hair that you free from the coils will be blown all around your kitchen if you fail to unplug the fridge — trust me. You can even see me make this rookie mistake in the video above.
Do All Refrigerators Have Coils on the Back? (Where are the condenser coils located on a refrigerator)
Not all fridges have condenser coils on the back. Some have them underneath the refrigerator as well and can be accessed by removing the bottom grill on the front of the refrigerator and by removing the panel on the bottom rear of the unit.
Sometimes refrigerators with coils on the back will have them exposed, and sometimes you’ll need to remove a panel on the back to access them.
Why Is It Taking My Fridge So Long to Get Cold?
There could be several reasons why your fridge is not getting cold, but a common and easy to fix reason is that the condenser coils beneath or behind the fridge are caked with dust and pet hair. When this happens, the refrigeration system cannot vent off the heat that was pulled out of the inside of the unit and the
Why is My Refrigerator Compressor Running All the Time
A compressor will run all the time when the sensors in the refrigerator sense that the unit is not cold and it will call for the refrigeration process to occur. It is normal for a compressor to run for 25% of the day during normal daily use, so 15 minutes per hour is not uncommon.
If the compressor is running more than that, you may have condenser coils underneath or behind the refrigerator that are caked with dust or pet hair. This insulation on the coils doesn’t allow the refrigeration process to release heat that was taken out of the inside of the fridge and freezer, and instead traps the heat with the refrigerant.
When this warm refrigerant passes through the capillary tube and drops in pressure and temperature before entering the evaporator coils, the drop in temperature is not as low as it could be since the excess heat wasn’t removed from the dust-coated condenser coils.
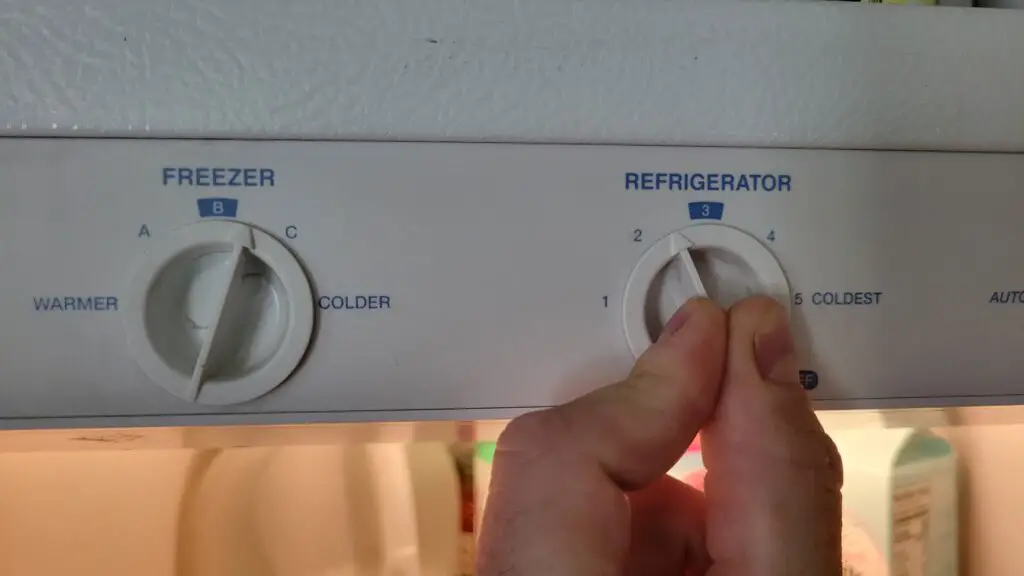
Instead of air in your fridge passing through evaporator coils that are, say, 25 degrees Fahrenheit (for example), they might not be now passing through coils that are 42 degrees because of the dirty condenser coils even though the temperature setting is for the temp to be 34.
Because the air in the fridge is passing by 42 degree coils, it will never reach 34. I would need coils as cold or colder than 34 to bring the temperature down so that the refrigerator’s sensors tell the compressor to stop working.
To keep it simple — check and clean your condenser coils for maximum efficiency!
