Ryobi brand tools are definitely not for someone who is in the construction business, but for the weekend warrior they tend to be reliable and durable enough. Still, there are hiccups every once in a while that arise that render a tool inoperable.
One of those issues is when you go to charge one of the batteries and find that the charger will no longer recognize it. The reason for this can sometimes be reversed, and sometimes it is a lost cause.
A Ryobi 18v battery will typically stop charging if it’s too hot or too cold, if one (or more) of the individual battery cells has an internal short, or if the overall voltage of all the cells has fallen below the minimum charge threshold of the charger. The latter situation can be reversed by bypassing the battery control module if the battery is out of warranty.
My previous job in facilities maintenance gave me plenty of access to Ryobi “bad batteries”. In fact, we had a little graveyard for them on top of the old toolbox when I first hired on. Some I could resurrect, and some were never coming back.
I’ll tell you what I learned as far as salvaging a Ryobi battery or retiring it for good.
Below is a video that I made that covers step-by-step the primary method discussed in this article.
Why is My 18v Ryobi Battery Not Charging?
Let’s keep things simple first. Often times a Ryobi battery will not charge because of the thermistor inside the battery case.
This thermistor needs to sense that the battery is in the proper temperature range in order to charge. Typically this will be several degrees above freezing and not too hot to touch. Not very scientific, I know, but it’s pretty basic.

If you have an uninsulated garage and go to charge a battery in the middle of winter when the temp is 5 degrees Fahrenheit, then your charger is just going to blink until spring arrives. You’ll need to bring the charger and battery inside and let them come up to room temperature before charging.
Likewise, if you rapidly depleted your battery with a Ryobi orbital sander (I know, the 5 minutes you get with one of those is ridiculous) on a 90 degree day, the rapid discharge (going from 100% to zero) combined with the ambient temperature is enough to also make the charger blink until that internal battery temperature comes down.
Now that we’ve removed the two basic reasons from the equation, we’re left with two common scenarios with these lithium batteries.
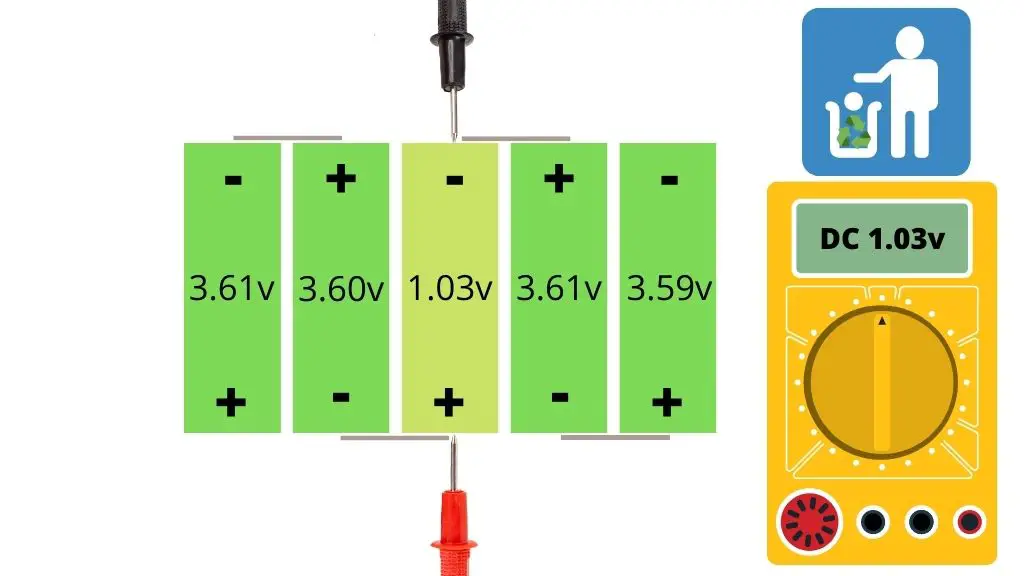
The first scenario is that there is a cell (or cells) that is bad within the battery. Inside the battery pack, there are actually 5 cells that are connected in series that make up the 18v battery. Each cell will have a reading of about 4.1+ when it is relatively fresh off a charge for a total of 20.5v+.

If you have a cell that shorted out internally (or more), then your charger will recognize a defective battery and will not charge. To do so would be pointless, since the dead cell cannot accept a charge (it’s internally shorted), and to try to pump in more current to make the other cells compensate for the bad one would only overcharge, damage, and ruin the remaining good cells.
The second scenario is one that can be reversed, but it may come with a cost (losing out on a warranty).
First we need to understand that once we remove the plastic cover from the battery that there is a control board inside that monitors the battery type (lithium, lithium +, Ni-Cd), the battery temperature, and that regulates the voltage that flows to the tool itself through the terminals at the “tower” that sticks up and inserts into the battery.
This control board also will shut down the flow of electrons from the battery if the voltage gets too low in order to preserve what charge the battery has left. This happens when you pretty much run the battery empty when using the tool and fail to recharge it afterward and leave the battery in the tool.
There is a “parasitic draw” on the battery by the tool where it slowly drains the current. Once it passes this threshold, you’re out of luck.

Unfortunately, when it does this, it makes it so that the charger doesn’t recognize that it is hooked up to a functional battery and it will not start the charging process.
Basically, the battery put itself into a coma to prevent further trauma and now it can’t be revived — at least not without some intervention.
How Do You Charge a Defective Ryobi Battery? (2 Methods)
One of these methods involves the disassembly of the battery, and basically bypassing the control board inside the battery case. The other method is extremely repetitive and time consuming, but it’s easy and you can get it done while watching your favorite episode or two of the office. It’s your choice, but let’s get started!
Faster but Involved Method:
Before I explain how to do this, it’s helpful to understand what’s inside one of these batteries.
When I took my first Ryobi battery apart years ago I noticed that there were 5 cells connected in series and a control board mounted on the top. I took note of a thermistor that was taped to the side of one of the cells. I also took note of the terminals that go up into the tool — there was a positive terminal, a negative, and one that was not labeled.
When I used a multimeter to check the DC voltage between the positive and the negative points of the terminals that go into the tool, I got a reading. When I checked between the positive and the unlabeled one, I got the same reading. There was no reading between the negative and the unlabeled one, so this gave me the good idea that the unlabeled one was grounded somehow.
I’m assuming the unlabeled terminal has to do with the charger recognizing the battery type, temperature, or both.
When I took a reading at the terminals on the tower which inserts into a tool, the reading did not match the reading I got when I directly measured the battery cells. Even on a good battery that’s relatively high in charge, the part that sticks into the tool will read 18.27, but the overall voltage of the cells will be 19.53, for example.
This let me know that the control board is metering the voltage that is picked up by the tool and by the charger itself.
You can read the total voltage of all the cells or measure them individually without a problem.
Basically, this control board is what is getting in the way of our ability to charge.
How to Take Apart and Bypass a Ryobi 18v Battery Control Board
(PLEASE SEE THE VIDEO AT THE BEGINNING OF THE ARTICLE FOR A FULL VISUAL STEP-BY-STEP PROCESS)
Now that you know what’s in an 18v battery, let’s get into the meat and potatoes of the article.
It should go without saying that you do this process at your own risk. Please wear safety glasses and use common sense. It is something that has worked for me, and my description here is for entertainment purposes only and is not a recommendation.
To remove the screws on the battery, you’ll need a T10 security bit (T is for Torx, or the star-like pattern seen in the picture below) and a nut driver. If you have a different battery than the one in the picture, then your size and type of bit may vary.

Remove the 4 screws that you can see.
Now, before you remove the 5th one which is covered by a little tab, I’m pretty sure that this tab is to keep you from tampering with the internals. If you pop it off, I’m pretty sure Ryobi will disown you as far as any of your complaints. Void your warranty at your own risk!
If you’re past your 3 year warranty or never mailed in your warranty card when you bough the battery, then use a small screwdriver or sharp tool (a pick, awl, or reamer work the best!) to pop off the anti-tamper tab and remove the final screw.

Lift straight up to remove the top cover. You will have to sneak your fingers inside the crack and grip onto the battery at the locations that you see in the picture below to keep the battery steady as you try to pull the terminals out of the tube that sticks into the tool so that you don’t break anything since the terminals which are mounted to the control board have a friction fit inside the tower that you’re trying to remove.

With that done, you need to check the overall voltage of the battery by using a multimeter as seen in the picture below.


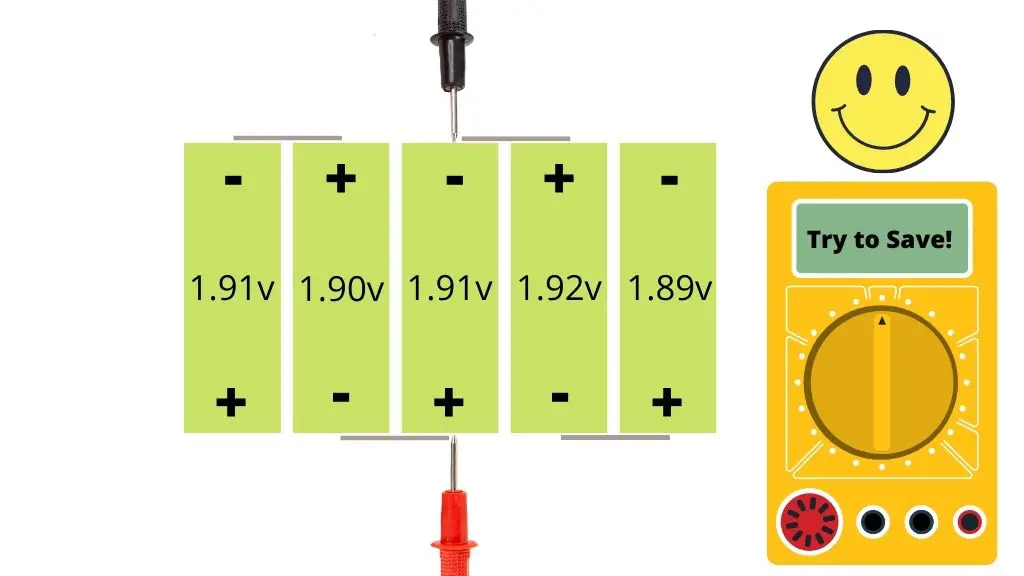
Next, check the voltage of each of the 5 cells. They should be uniform, or relatively close.

If you have 4 good cells and 1 or more bad cells, then I wouldn’t even bother continuing. Your battery is likely past the point of repair and should be replaced.
If the cells are relatively even, then we can continue.
More than likely, at this point, your battery is in a coma and just needs to be revived with a little jump to put a surface charge on the battery that bypasses the control board.
You’ll need at 3 pieces of insulated wire, about 12″ in length each. I used 16 gauge wire without issue. Strip off 1/4″ from each of the ends and crimp a medium side eyelet on one end of each wire. You can also use jumper leads with this step that have small alligator clips on each end or simply make a loop at one end of each of the wires.

With the charger unplugged, you’ll need to loop the eyelets around each of the terminals in the charger — one wire per terminal. From there, pull up gently and put a piece of tape on the wire and tape it to the charger so the eyelet won’t fall down and will keep decent contact with the terminal clips in the charger.
Locate the positive and negative terminals of the battery (not on the tower portion that sticks into the tool). The positive side on mine was not marked, but the negative side was labeled “GND” for ground. You can also use a multimeter to test both locations. If your reading on the screen is positive, then you know that your red lead is touching positive and your black lead is touching negative. If your reading is a negative number, then you know that you have it reversed.

From there, you keep the wires sticking out of the charger separate, plug it in, but you hold the negative and the unlabeled one in one hand, and the positive in the other.
Orient the battery so that the negative side is on the same side hand that holds the negative and unlabeled wire, and the positive side corresponds with the positive wire.
Once the charger indicates that it’s ready to accept a battery, go ahead and place the wires on their respective sides of the battery (the negative and unlabeled to negative, and the positive to positive). I tried doing this process without the unlabeled wire but it won’t work unless touching the negative terminal.

Hold the wires there for 10-15 seconds, remove them, unplug the charger and test the terminals with a multimeter. You should see a definite and sudden increase in voltage, but the number will start dropping as you hold the multimeter on it.
We’re only providing a surface charge, and not really “charging” the battery. Our goal is to excite the battery enough and raise its surface voltage just enough that when we finally plug it in the the charger the charger will actually recognize it as a functional battery since it passed the minimum voltage threshold.
I would only hold the wires on the terminals for 15-30 second intervals at most and then check the reading with a multimeter to see where you’re at.
I don’t know what the minimum voltage is for a battery to register as “good” when in the charger, and I even read the manual for the charger.
An 18-volt battery will read 19-20+ volts when functional, so I would assume it would register it as a functional battery when it hits the 50% mark but I could be off. I know my smart charger for my 12-volt car batteries requires a minimum voltage of 9.5 when charging any 12-volt battery.
I never kept track of what voltages worked and didn’t. I would shoot for a surface voltage of 10-volts, remove the wires from the charger, put the battery back together without the screws and attempt to charger. If that doesn’t work, keep going up in increments of 2-volts.
When your battery finally does take a charge, let it charge fully, remove it, and then put the screws back in. The surface charge dissipates quickly, so you don’t want to find that it charges, remove it, put the screws back in, and then go to charge it again only to find out that the surface charge dropped below the threshold.
Note: Remember to unplug the charger before connecting and disconnecting the jumper wires.
Slow and Easier Method:
I’ve never tried this method, but when I was thinking of writing this article from my own experience, I wanted to see if anyone else has done anything different. I’m not alone in discovering that you can jump the battery by bypassing the control board, but I never considered this method before.
It simply involves putting your battery into the charger repeatedly until it charges.
I know. Hear me out.
When you first put the battery in the charger, it sends a small pulse of current into the battery as part of its diagnostics. When it doesn’t see a battery that meets the minimum threshold, it rejects the battery and gives you an error light.
That small current added a small surface charge to the battery. If you keep repeating the process over and over without giving the battery enough time to lose the surface charge, then within 30-60 minutes to may find that all of those micro charges added up to make the battery cross the minimum voltage threshold.

I’m rather impatient, so I opt for the method I’ve been doing for years. However, this method wouldn’t void any warranty and doesn’t involve the risk of disassembling a lithium battery.
I also don’t like this method because if you don’t know why your battery is bad, then you could be wasting 30-60 minutes of your time. That’s why I like to test each of the cells immediately after taking the battery apart. It lets me know if the battery is simply in a “coma” or if it is bad because a cell has an internal short.
If a cell has an internal short, I’m not sure all of those micro charges are going to do much for you as you put the battery in, pull it out, put it in, pull it out, etc. You will imagine yourself getting closer and closer to ending up with some office repetition injury with no payout at the end.
How Do I know if My Ryobi Battery is Bad?
A Ryobi charger itself will blink red with a slow and fading light to indicate a defective battery. This could mean that the battery has one or more cells that have gone bad, or has fallen under the minimum charging voltage. Disassembling and checking the voltage of each individual cell is the only way to know. Ryobi offers a 3-year limited warranty on their batteries, but that warranty is void if you tamper with the batteries.
If the warranty is no longer applicable and you have nothing to lose, feel free to take the battery apart (as outlined above) and check each of the cells. If one or more is significantly worse than the others, then it is a junk battery. If they are all equal but just low, then you may be able to salvage the battery for a time by following one of the two steps listed above.
How Do I know if My Ryobi Charger is Working?
As a general rule, a Ryobi charger will rapidly blink green when the battery is charging and will hold a solid green light when the battery is charged. If a charger only indicates a fading red light, then the battery is either too hot, too cold, has an internal short, or has fallen below the minimum charging voltage threshold. Ryobi offers a 3-year limited warranty on their batteries upon purchase.
