Generator carb cleaning… fun, right?
When it comes to the most common maintenance issues that one can have with a generator, cleaning a carburetor is definitely one of the most regular tasks to be made. If you’ve never done it before it can certainly feel intimidating. Resembling some sort of miniature replica of a moon landing module, a generator’s carburetor strikes fear into those new to small engine repair with its fuel lines, moving parts, and small pieces.
In fact, a carburetor strikes so much fear into some people that they often will put a “free” sign on their generators and leave them on the side of the road thinking that they’re dead but not knowing that 30 minutes of easy work could have it back in working order. After this read, hopefully you will be able to capitalize on some of these roadside deals!
Trust me when I tell you that you can absolutely repair and clean your own carburetor and I am going to guide you through the process step-by-step.
When that’s done, I’ll finish up with a brief and easy to understand explanation of the three most common carburetor problems (and symptoms), just how a carburetor works, and the best way to store your generator to minimize the chance of needing to tear your carburetor apart again.
Here’s a video I made of the process which is described throughout the rest of the article, just in case a better visual is needed.
Symptoms of a Carburetor in Need of a Cleaning
- Engine runs rough at idle
- Engine runs rough when choke is off but runs better when you start to turn the choke on
- Engine won’t start at all even though you have fresh fuel, a clean air filter, and a working spark plug
- Engine stalls shortly after starting
- Engine oil smells like gasoline and has gasoline mixed in with it
How to Clean a Generator’s Carburetor
Tools Required:
- Narrow-bladed flat-head screwdriver of the exact width of your distribution tube/main jet
- 10mm wrench or socket set (Possibly other sizes depending on the bolts holding your particular air filter assembly on)
- Phillips-head screwdriver
- 1″ bristle from a wire brush or the inner wire from a twist-tie
- Carburetor Cleaner spray with straw nozzle-insert
- Safety Glasses
- Vice grips for pinching a fuel line (depending on the location of your fuel shutoff valve)
- Shop rags
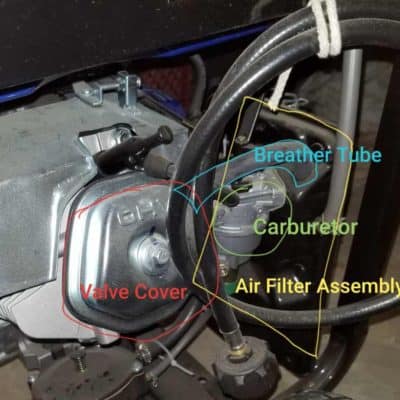
Diagram of Carburetor Parts
Steps to Clean a Generator’s Carburetor
** (Honda or Chinese Clone carburetors are used in the examples, but the caveats for Tecumseh carburetors are in the final step. Everything else should be roughly the same.)
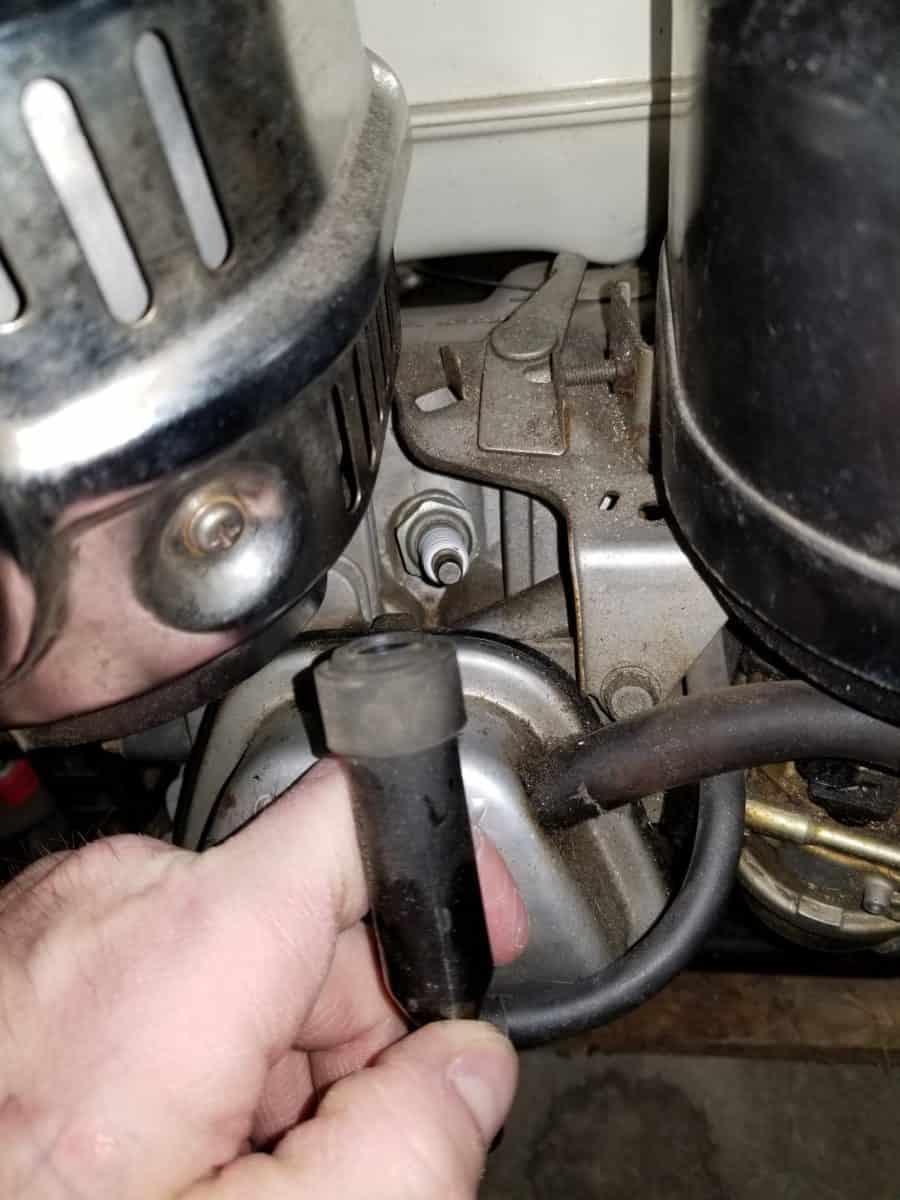
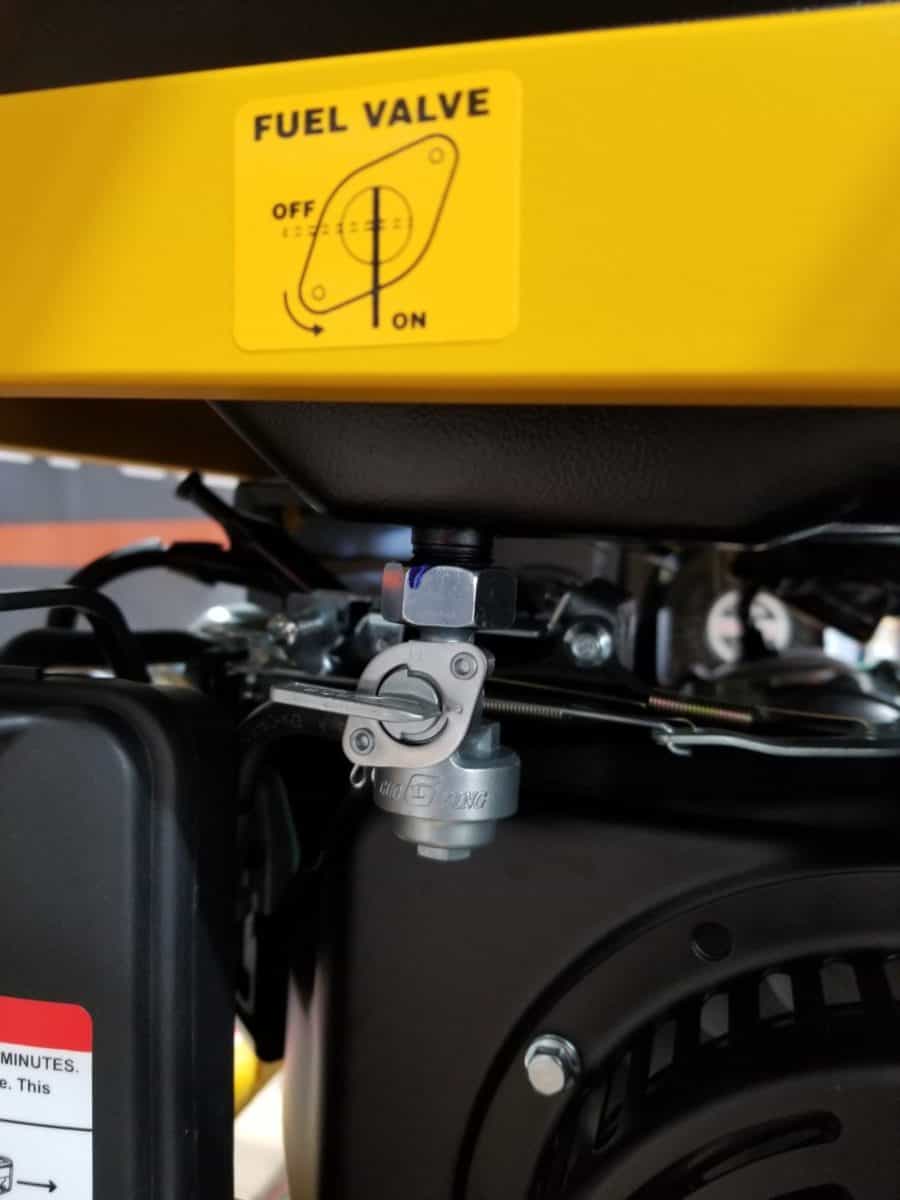
- Remove the rubber boot from the spark plug for safety and shut off the fuel valve so that gasoline from the tank will not flow down to the carburetor.
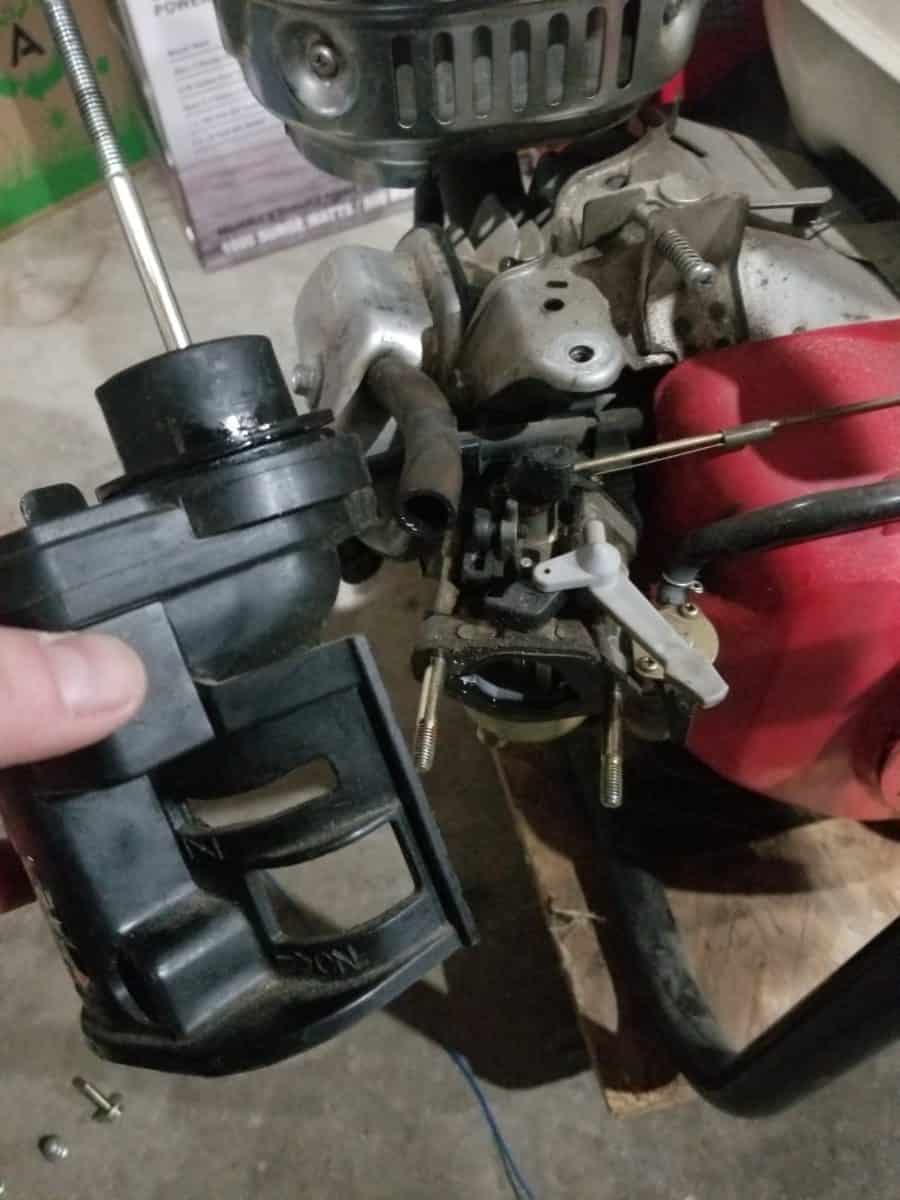
- Unclasp the air filter cover and remove the air filter to reveal the nuts that retain the entire air filter assembly. Remove them, and you may have one or two on the reverse side depending on your model. Disconnect the hoses that run to it. The breather hose that runs from your valve cover to the air filter assembly simply pulls straight off. Remove the gasket from between the air filter assembly and the carburetor. If it is torn or in bad shape, replace it.
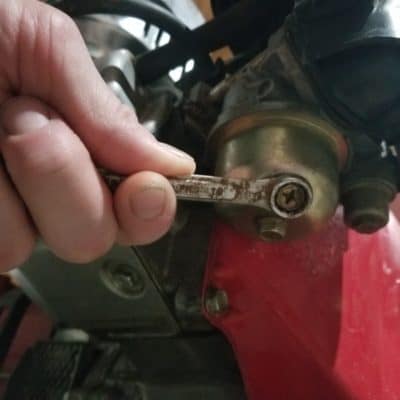
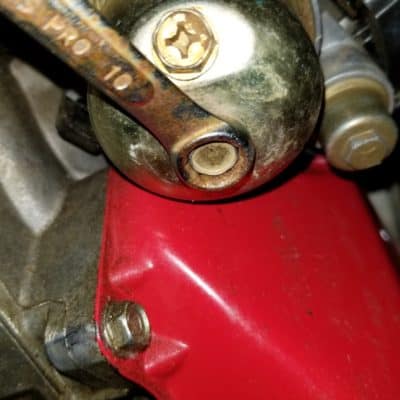
- Next, get a glass jar or another appropriate container and a 10 mm wrench or socket and you’re going to want to unscrew the drain plug which is located at the bottom of the carburetor bowl. If you have a Honda style engine, then you’re not going to unscrew the bolt on the very bottom in the center, rather the screw that’s on a slight angle from the bottom just off-center.
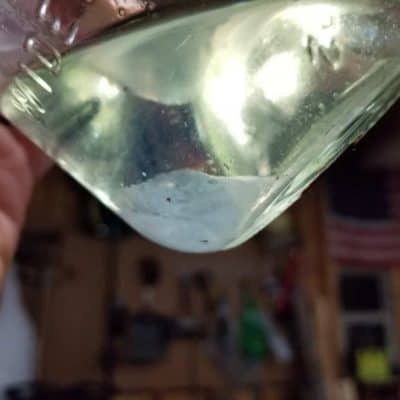
- Unscrew the plug and allow the gasoline to drain into the jar. After it drains, you can screw the plug back in by hand to reduce the chance of losing it. The picture below shows water mixed in with the gasoline which can happen if you allow your generator to store with untreated gasoline inside of it during storage. This is especially common with fuel that contains ethanol. The water will sink to the bottom in globs.
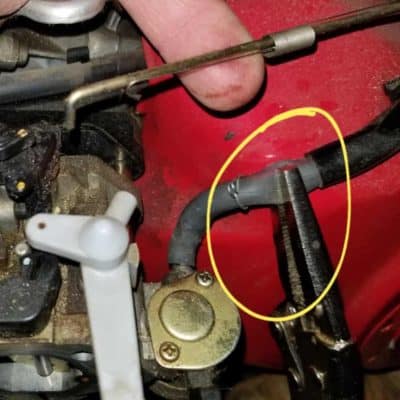
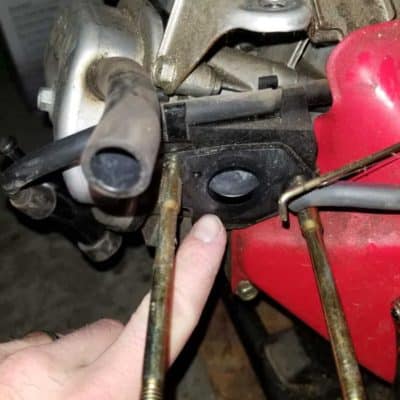
- Disconnect all hoses that attach to the carburetor, and disconnect any linkages from the choke or throttle. You may have to turn the throttle a bit to remove the linkage from that end. If your fuel shutoff valve is connected to your carburetor, you will need to pinch the hose off a couple inches up from the carburetor with a pair of vice grips (as seen in the photo).
- Remove the two nuts that hold the carburetor in place and remove the carburetor. Check the gasket between the carburetor and where it connects to the generator. If it is ripped or damaged it must be replaced or you will create a vacuum leak and it will always run lean by the air getting by the gasket.
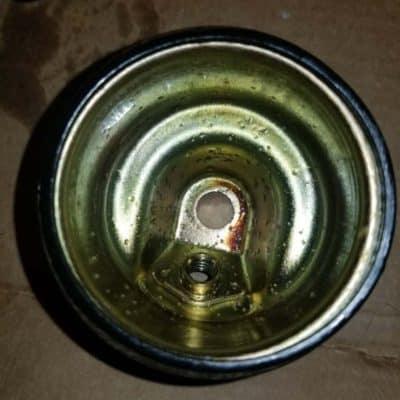
- Unscrew the bolt at the bottom of the carburetor with a 10mm wrench or socket and remove the bowl. Check for sediment, varnished gas, water, etc. Remove the rubber gasket from the bowl before spraying with carburetor cleaner as it will cause the gasket to swell and it will be a pain to put back on. On a Honda style carburetor, the bolt for the bowl is simply that — a bolt. On a Tecumseh carburetor it will also serve as the uptake for the gasoline and you’ll see holes in the bolt that will need to be cleaned out. Regardless of which brand, make sure the small gasket around the bowl bolt and the drain bolt is intact. Replace if it became damaged from removing it.
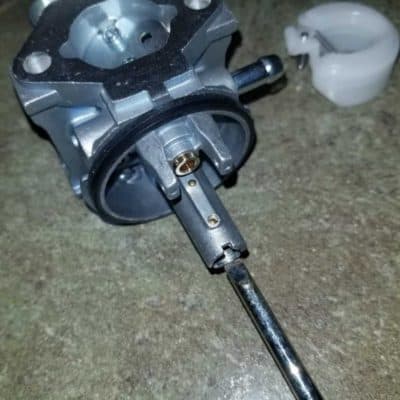
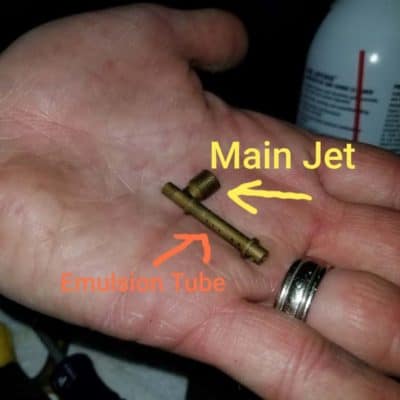
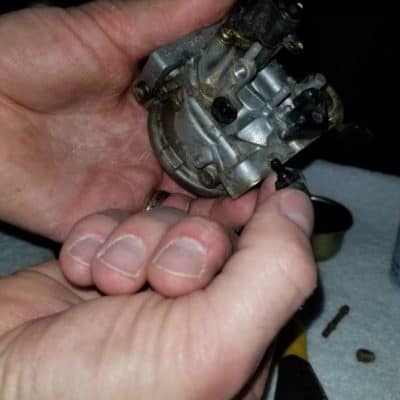
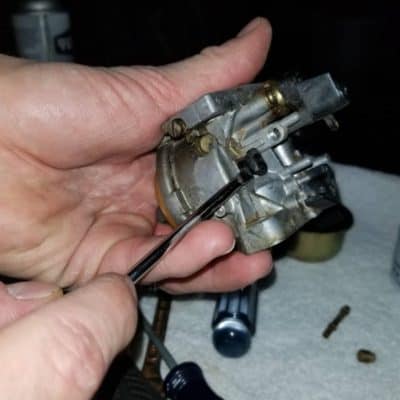
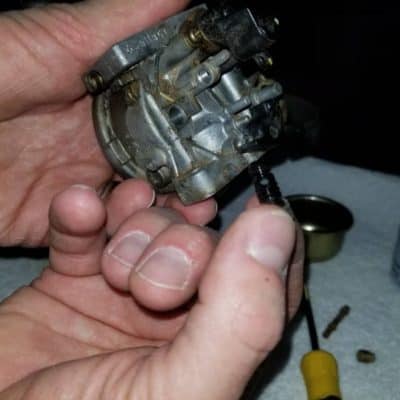
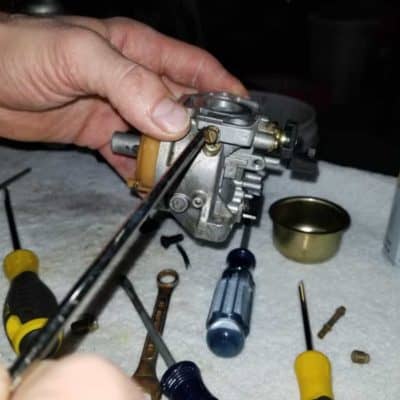
- Remove the main jet from the distribution tube (the tube that runs up from the bowl to the throat, or main passage, of the carburetor) with an appropriately sized flat-head screwdriver. Do not try to force a screwdriver that is too wide in the distribution tube as the metal of the carburetor is softer than your screwdriver and it will be damaged.
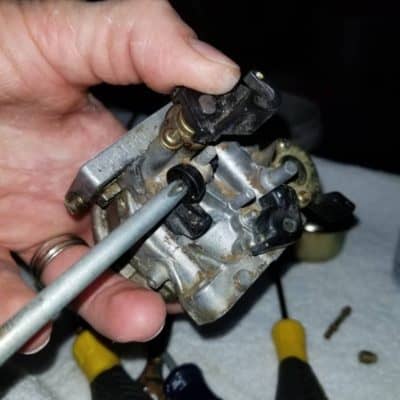
- After the jet has been removed, remove the emulsion tube which is seated right above it in the distribution tube. This should simply fall out with the main jet removed if you have a Honda style carburetor. A Tecumseh carburetor would have an emulsion tube held in by two o-rings. You’ll likely need to slide something narrow into the throat of the carburetor to push down on the emulsion tube (between the choke and throttle butterfly valves). From there, I’ve used a bobby-pin to successfully pull the first o-ring out. Then the tube falls out and I use a bobby-pin to retrieve the second o-ring.
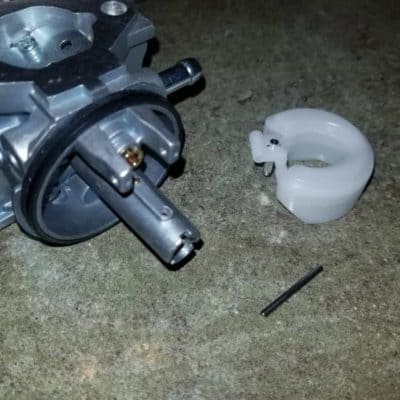
- Remove the float by pushing the retaining pin out one side or the other. Take note of the condition of the float needle. On Honda style carburetors the needle is actually rubber-tipped that rests against a metal needle seat when the float is engaged and the carburetor bowl is to its limit in gasoline (Tecumseh have metal needles with rubber o-ring in the needle seat). If the rubber looks deformed, it may not be working correctly anymore. Step 16 will show you how to test it.
- On the outside of the carburetor screw in the throttle adjustment screw and carefully count the number of turns or half turns. Write that number down. Now, unscrew it all the way out. When you put it back in later, screw it in all the way and unscrew it the number of turns that you counted.
- Remove the plastic piece (if your carburetor has one) below where that adjustment screw was. It should simply pop up. Below it will be your pilot/idle jet. Remove this with a flat head screwdriver. It will either pry up if it’s plastic or unscrews if it’s brass.
- Remove the air-fuel mixture screw if yours is able to be removed. Like the throttle adjustment screw, it will have a spring on it to prevent the screw from vibrating out. Before removing, count the number of turns it takes to screw it all the way in, and when you replace it later screw it in all the way and back it out the appropriate number.
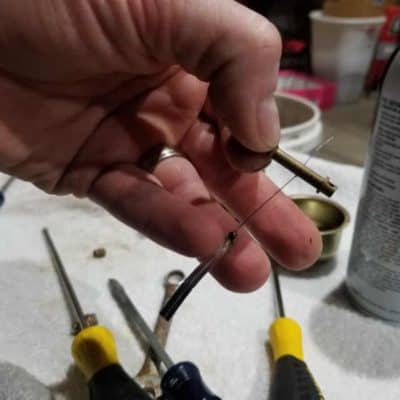
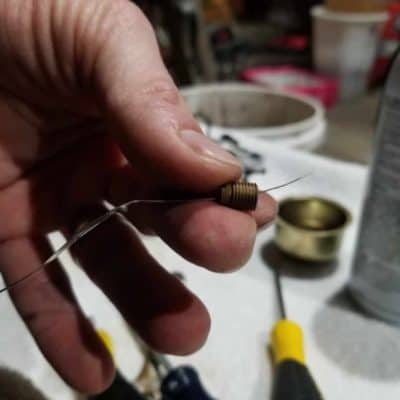
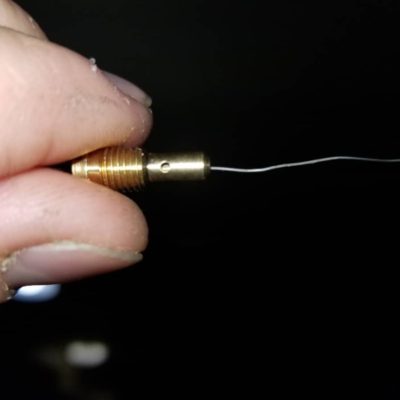
- Examine the main jet, the idle/pilot jet, and the emulsion tube from the steps above for clogged holes. These holes are very small and are easily blocked. Any blockage will result in diminished engine function or cause it to not function at all. A blocked main jet is one of the most common causes of failures to start. A blocked idle jet is the most common reason for surging at idle. Use the inner wire from a twist-tie or a single bristle from a wire brush to poke through all of the holes. When done, spray carb cleaner with corresponding straw into the jets/emulsion tube and blast them out once or twice. Place items on a clean rag. Remember to clear out the pinhole on the bottom of your idle jet, regardless of whether the jet is made of plastic or brass.
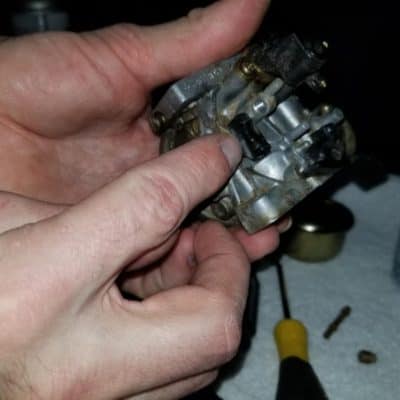
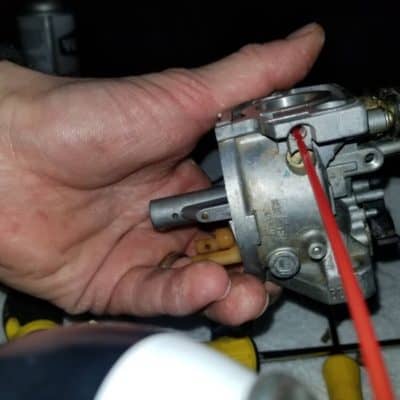
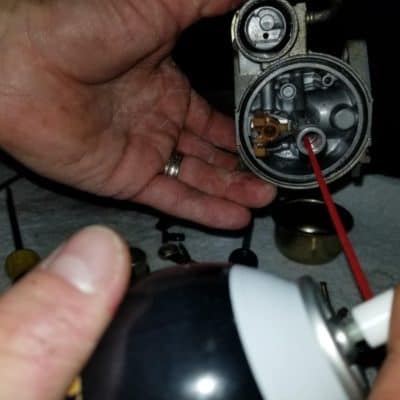
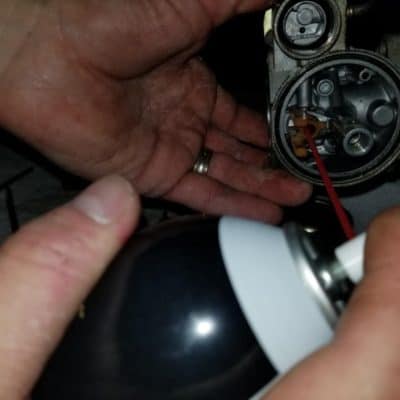
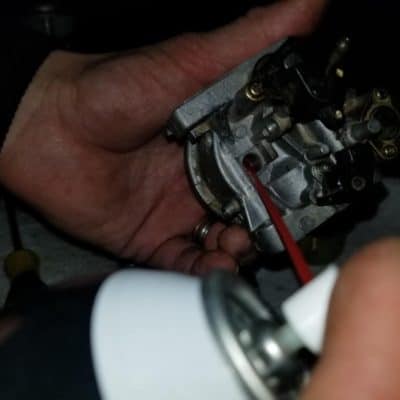
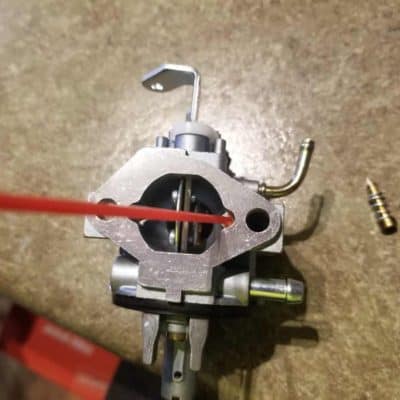
- Now, blast carb cleaner in the valve needle seat hole and the spray will exit where your fuel line connects, so keep that pointed in a direction other than your face. Spray out the distribution tube. Spray in the hole where the pilot/idle jet was seated. Spray any of the small tubes that can be seen in the following picture. Spray out the air-fuel mixture screw hole.
- Put the float and needle valve back in place and insert the retaining pin. With the carburetor upside down (from how it would attach to the generator), and the float now on the top, blow moderately through the tube where the fuel line connected. This will test to see whether or not your float needle is creating a proper seal. If air passes through, and the needle looks like it is in place, then you need to replace it or your engine will always flood. When you turn the carburetor upside down in your hand so that if it were to be reattached it would be correct, you should be able to blow freely through the fuel line tube.
- Assuming everything is correct now, reassemble carefully in reverse and after you wash your hands or wipe them off (optional but advised). Minimize every chance of getting dirt in your now clean carburetor. It only takes a fleck of dirt to cause the whole thing to stop working again. Remember to get everything snug/tight but not to overtighten. Many of these parts are soft metal and will easily damage with a screwdriver.
- **If you have a Tecumseh carburetor, you will have a few differences with the bolt for the bowl having its own holes to be cleaned out, and the emulsion tube will be retained with 2 o-rings. You may need to get a narrow flat-head screwdriver by the butterfly valves to push down on the top of the emulsion tube that can be seen sticking up. A bobby pin can be used to remove the first o-ring and after the tube falls out the bobby pin can be used to remove the second o-ring in the distribution tube. Also, use a bobby pin to remove the o-ring that will be in the float needle seat before spraying with carb cleaner since anything rubber will swell. Replace all o-rings if they look worn, damaged, or deformed/flat.
Top 3 Carburetor Problems and Symptoms
1. Carburetor Main Jet (and/or Emulsion Tube) Clogged
Some Symptoms: Engine will not start or runs rough (lean) and stalls despite: 1.) spark plug working, 2.) fuel in the tank being good, 3.) fuel reaching the carburetor, 4.) and air filter not being dirty.

A clogged up main jet in a carburetor is by far the most common problem that you’re going to have with starting your engine with the exception of a spark plug not working or the fuel being bad (though bad fuel is why they are linked). It is probably responsible for 50% of the issues I’ve had when fixing small engines for family and friends.
The main jet is the tiny orifice that allows fuel to go through from the bowl to the top of the carburetor and then to the engine itself. If this tiny hole is blocked or restricted, you’ll either get no luck in starting it or the engine will run very lean and will lack power because it’s starving for fuel.
The steps above outline how to access and clean the main jet.
2. Stuck Float Needle or Improper Float Needle Seal
Some Symptoms: For a stuck float needle the engine will not start, starts for a moment and stalls, or starts and stalls shortly thereafter with lots of popping noises. This is despite: 1.) the spark plug working, 2.) fuel in the tank being good, 3.) fuel reaching the carburetor fuel inlet, 4.) and air filter not being dirty. For a valve needle that isn’t sealing properly, engine might start temporarily and run very rich and stall. Engine oil may have gasoline mixed in it.
The float in the carburetor regulates the amount of fuel that is allowed in the bowl of the carburetor at any given time. As the fuel reaches the designated level, the float will rise and a needle will block the passage for more fuel.
The problem is that sometimes the needle gets stuck in the “seat”. Either the needle is rubber-tipped and slightly deforms so it won’t release from the metal seat (Honda style), or the needle is metal and the rubber o-ring deforms and they stick together (Tecumseh style). It really depends on which type of carburetor you have — and there are more than just Honda and Tecumseh, but they are very common.
If the needle is stuck in the seat, you will not have any fuel entering the carburetor and your engine will run for as long as there is fuel in the bowl, which won’t be for long. Then it will run lean, stall, and will not start again.
Now, if the needle (or rubber o-ring) is deformed or damaged in a way that will not create a proper seal, then you will flood your carburetor since the fuel cannot stop despite the float rising. If the flooding is minor it might run for a little while (rich) before stalling. I had this happen with a snowblower and the rubber o-ring was split. I could get about 60 seconds of sputtering and popping before it would stall.
If the flooding is too much for the carburetor to handle, then the engine will not start. If you have a leaky needle valve, check your engine oil as there is a good chance that your oil will not have gasoline it it (assuming that your carburetor is on the same level as the combustion chamber).
3. Pilot/Idle Jet is Clogged
Some Symptoms: Surges when on idle, will even out if you partially engage the choke.
If you can get your generator to start up just fine but it’s doing nothing but surging and revving up and down when simply running on idle, then you’re more than likely experiencing a clogged pilot (idle) jet. This is the small jet located below the throttle adjustment screw and it’s likely due to the small pinhole on the bottom of the jet being plugged which restricts the gasoline when the gasoline is at idle. The holes on the side of the jet carry the air and are usually not clogged (from my experience).
How a Carburetor Works (Easy Explanation for Somebody New to Small Engines)
Carburetor’s purpose: To blend fuel and air in the proper ratios (14.7 parts air to 1 part fuel) into a mist for combustion in the engine.
How it works: Think of an engine like an air pump. As the generator’s engine cranks over, the revolutions per minute (RPM’s) are around 3,500 (give or take). Every time the piston completes its 4-stage cycle (in a millisecond) it is forcefully sucking in fresh air-fuel mist for combustion and forcefully expelling the exhaust.
The air provided to the engine is sucked through the air filter and then directly through the throat of the carburetor. This air at a high rate of speed creates a negative pressure which draws up gasoline from the carburetor bowl through the various jets and passages depending on if you’re running full throttle or simply on idle.
In other words, the high speed air being sucked into the engine creates a vacuum and pulls the gas out from the bottom of the carburetor in the appropriate ratio as it goes by.
If you’re interested in the science, you can research the “Venturi Effect”.
How to Keep Your Generator’s Carburetor Clean When Not in Use
- Use only ethanol free gasoline in your generator and always use a fuel stabilizer (I prefer SeaFoam).
- Run your generator once every 30-60 days for 10 minutes and place a load on it for at least a minute (I power a circular saw).
- Whenever you shut off your generator for storage, simply turn off the fuel shutoff valve. This will cut off the gas to the carburetor and your engine will use up the remaining fuel in it which will reduce the chances of the gas turning to varnish or collecting water from condensation. You can also drain any remaining fuel out of the drain bolt when you’re done if you prefer as an added step (I never have and have never had problems). Letting the engine use up the remaining gas in the carburetor will also allow the float to drop which will keep the rubber tipped needle from constantly pressing on the needle seat (which would eventually deform it).
