Spring is in the air and it’s time to give your lawn its first trim of the year. You let the sun hit your face and venture into the garage to bring out your trusty push mower. After lots of effort, it becomes very clear that you’re not going to get it started without some help.
Hopefully, that’s where this article will step in. First, thanks for stopping by! I’ve got 7 years of repairing generators and lawn mowers under my belt and hopefully some of what I’ve learned can help you out.
I will keep the rest of this article brief and get you back in business!
Generally, a lawnmower will not start after winter due to stale fuel and a carburetor that is gummed up because of it. With time, fuel loses its combustible properties and turns to a sticky varnish which clogs and restricts the carburetor jets. Draining and replacing the fuel, along with cleaning the carburetor will solve the majority of starting issues.
While that brief explanation covers the overwhelming majority of the cases, there are certainly a few other things you’ll want to check out.
In the following section I will have a table set up with the symptoms, the causes, and the fixes that you’ll need to take to get things back up and running.
Why is My Lawn Mower Not Starting After Winter?
Typically, after sitting for several months during the winter, a lawnmower will not start due to hydrolock (from winterizing or tipping incorrectly), stale gas, a gummed up carburetor, or a bad spark plug.
⬇⬇⬇ Take a look at the table below and see if you experience any of the following symptoms. ⬇⬇⬇
| Symptom | Reason | How to FIx |
|---|---|---|
| Cannot pull the starter cord | Hydrolock caused by winterizing or by tipping the wrong way | Remove boot from spark plug and remove the spark plug as well. Hold down the brake lever. The recoil cord should now work. Gently pull the cord several times before putting the spark plug back in and trying again. |
| Won’t start, starts but stalls shortly thereafter, runs rough | Stale gas in the tank | Pump bad gas out with a battery fuel pump or disconnect fuel line from the carburetor and allow bad gas to drain into a jar. Replace with fresh gas and 1-2oz of SeaFoam. |
| Won’t start, starts but stalls shortly thereafter, runs rough | Carburetor gummed up, jets are clogged or restricted | After you’ve drained and replaced fuel with fresh fuel and SeaFoam go ahead and pinch off the fuel line with vice grips, remove the air filter assembly, take a picture of the carburetor linkages and remove the carburetor. Clean out idle jet, main jet, and the bowl. |
| Won’t start (fresh gas, pull cord works) | Bad spark plug | Try cleaning first with a wire brush if the spark plug is black with carbon build up. Ground spark plug threads against metal on the engine and pull cord to test for spark. Replace if needed. |
What Causes Hydrolock from Winterizing or Tipping the Wrong Way
Hydrolock is when you have a liquid that is sitting on top of the piston within the combustion cylinder. This can be from gasoline, oil, or in rare events, even water.
Essentially, your piston moves up and down in the combustion cylinder and highly compresses the air and fuel mist within it before the spark plug does its thing and the mixture combusts and drives the piston back down.
You can compress a gas, like an air and fuel mist mixture. You cannot compress a liquid.
The result of trying to compress a liquid will be a starting cord that is locked in place or barely moves under extreme force.
You might be wondering how you could get liquid in there to begin with.
There are two common ways this could happen, especially after a long winter.
If you properly winterized your lawn mower, you likely removed the spark plug and poured a tablespoon of engine oil on top of the piston to help lubricate the piston rings and cylinder walls while it was in storage. There is a possibility that this oil is still sitting on the piston and will NOT be compressed.
I had this happen to me on my first power washing job of the year last year and I forgot to bring my ratchet and socket set with me to fix the issue (we’ll get to that in a minute). It was embarrassing and I should have known better.
Pro Tip: If you just filled the engine oil while the lawn mower was on an angle or tipped on its side, its likely that you overfilled it. Check the dipstick while the lawn mower is level. Too much oil will cause too much pressure in the crankcase during use and the oil will push up passed the piston rings and cause hydrolock to relieve the pressure.
The second way is if your lawnmower was tipped over incorrectly while you were either digging it out of storage, or if you tipped it incorrectly in order to inspect something before you tried starting it.
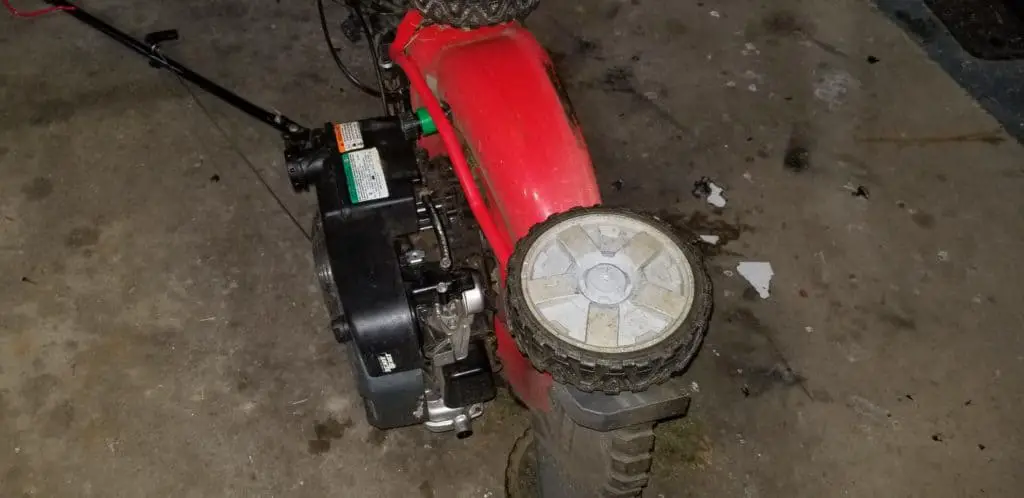
A generator can be safely tipped backwards so that the handles are on the ground, or it can be tipped on its side as long as the carburetor is on the side that points to the sky.
If you tip your generator so that the carburetor faces the floor, then there is a high likelihood that there is now fuel or oil that has entered the combustion cylinder which will cause hydrolock.
Here’s How to Fix Hydrolock
The simplest way to resolve this problem (assuming its from winterizing or accidentally tipping the wrong way), is to remove the rubber boot from the spark plug and then take a deep-well socket and ratchet to remove the spark plug itself.
Once it’s unscrewed, you can gently pull on the starter cord while holding the brake lever to the handle. If it moves, then you know you have hydrolock.
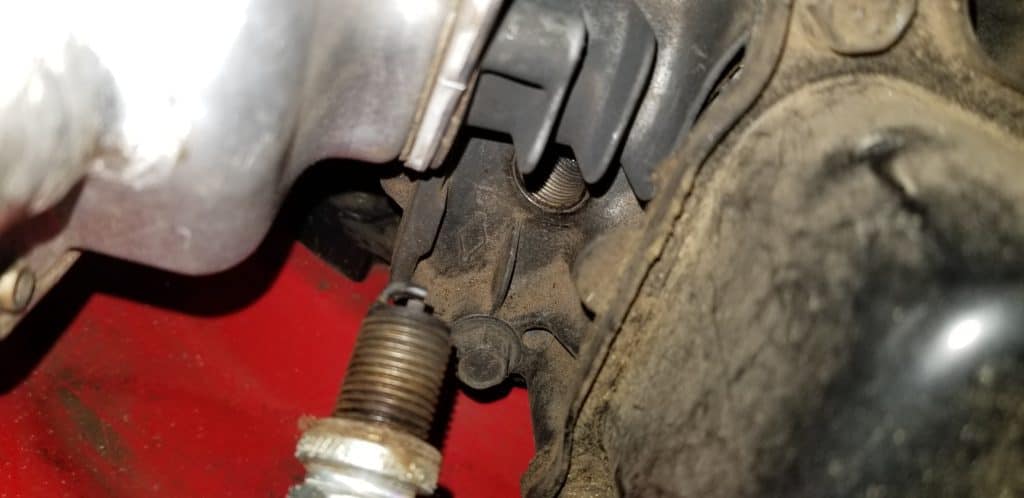
Pull the cord back a few times slowly, and then a few times like you are trying to start it.
The slow pulls will allow the liquid to work by the pison rings and escape by draining out. The faster pulls will fling the excess out of the hole that was made by removing the spark plug — so make sure things are pointed in a safe direction.
Once you’ve done this several times, go ahead and replace the spark plug and try starting it.
If it works, it will not be unusual for you to see smoke from the exhaust for the first 5 minutes of running as any trace amounts of oil or gas is burned off.
What Causes Stale Gas in a Lawnmower
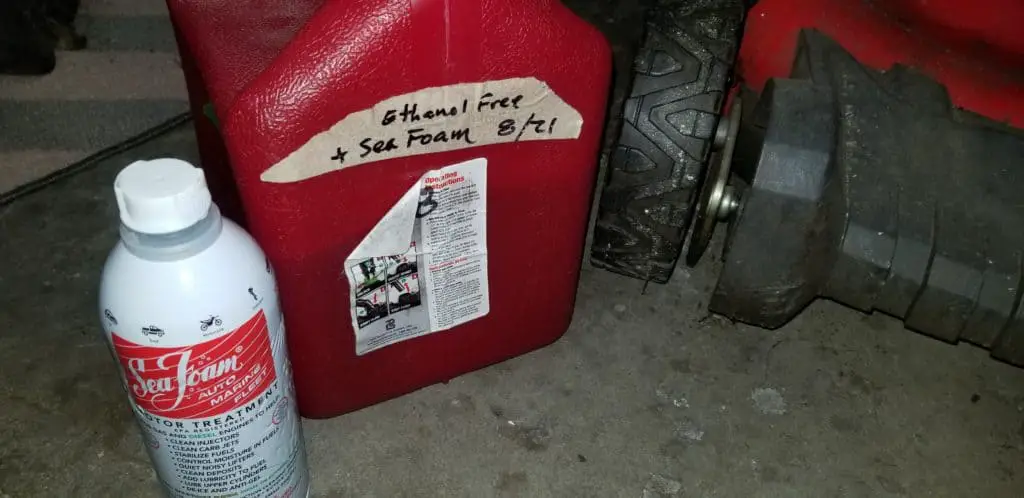
Gasoline that is untreated with a fuel stabilizer like Stabil or SeaFoam (my preferred additive) will dramatically have a performance loss after 3-6 months depending on whether or not you use regular E10 gasoline or marine gas (ethanol free).
The ethanol free gas (my preferred) will be on the higher end of that 3-6 month range.
Without the fuel stabilizer, gasoline will oxidize. Oxygen in the air will degrade the gasoline and the hundreds of chemical additives that are in there.
You will also lose the “light ends”, which are the most combustible part of the gas, due to evaporation. When these are gone, you’ll be left with the less combustible “heavy ends”.
Over time, your gas will degrade and turn into varnish. This will be a hard, plaque-like residue that sticks to everything that the bad gasoline has touched.
This can clog up or restrict fuel lines, and it can very easily clog up the tiny gets and ports within your carburetor that need to be clear for the engine to run at all.
How to Fix Stale Gas
If you have stale gas in your tank, you’re going to need to remove it.
If you have E10 gasoline that hasn’t been treated with a stabilizer, it is probably worth draining after 2-4 months.
If you have ethanol free gasoline, it is worth draining after 4-6 months.
If your gasoline has been treated with Stabil it should be good for up to at least a year, and if it was treated with SeaFoam it will be good for up to two years. Yes, I’ve tested it out and it performs great even after two years!
You can remove the gasoline from the tank by using an inexpensive, battery-operated fuel pump like this one seen on Amazon. Pump it into a jar and pour it in your car’s fuel tank. A small amount, like that from a lawn mower, will dilute itself just fine in your vehicles gas tank. Make sure to still drain your carburetor bowl.
You can also remove the gas by removing the air filter assembly to access the fuel line that connects to the carburetor. Remove the fuel line and allow it to drain out into a jar. Drain the carburetor bowl when you’re done as well and clean out any varnish or debris.
Now, if your lawn mower was not starting at all and you know you had stale gasoline, then you should proceed with cleaning the carburetor which is described in the next section.
But if your engine did start but just ran poorly, you might get away with skipping the cleaning of the carburetor.
It’s worth a shot to add fresh fuel and throw in about 2 ounces of SeaFoam into the tank as well.
SeaFoam is great at breaking down any varnish in the carburetor and fuel lines. As long as they are not completely clogged (engine won’t start), then there is a chance that simply running the SeaFoam and fresh gas through the system for 5-15 minutes will clear things right up.
Some people freak out after adding SeaFoam to the gas tank because they see smoke coming from the exhaust. This is NORMAL and just shows that the residue is being cleared up and is burning away in the hot exhaust. It will clear up as soon as the carburetor and fuel lines are clean again.
How to Fix a Gummed-up Carburetor
The following topic is a bit difficult to explain in writing, as it’s more of a visual thing.
⬇⬇⬇ These videos will guide you through the process for most push mower carburetors (there are 2 primary types).
How to Fix or Replace a Spark Plug
Remove the rubber boot from the spark plug and then use a deep-well socket and ratchet to remove the spark plug itself. The size of the socket needed is typically 5/8″ but yours may vary.
Check the end of the sparkplug to see if it is black with carbon build up. If so, use a wire brush to clean off as much of it as you can.
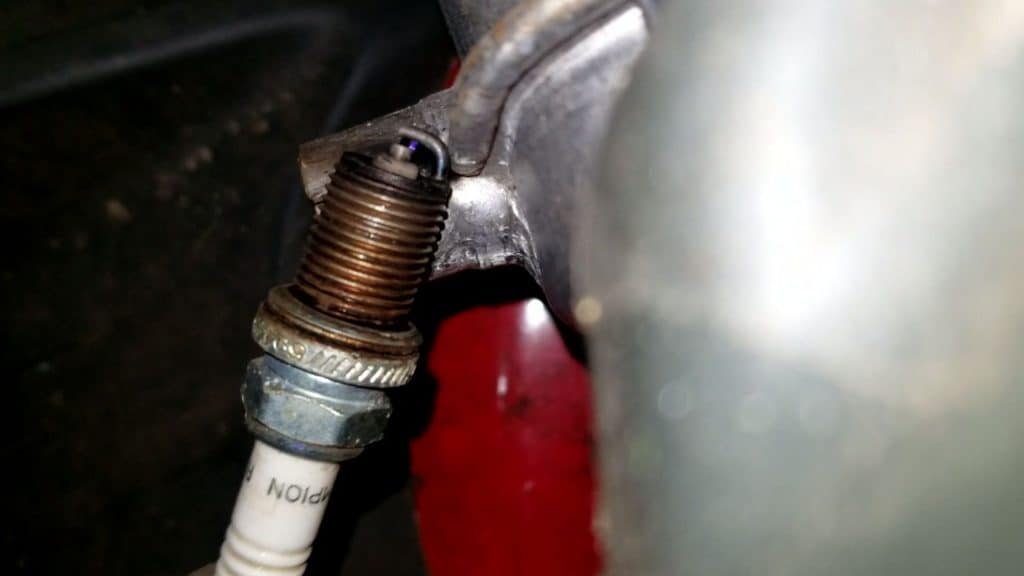
You can test the functionality of the spark plug by hooking the boot back up the the plug end, and then placing the threads of the spark plug on metal edge of the spark plug hole so that you can still see the sparking end.
Gently pull the recoil cord back (it doesn’t have to be much) and you should see a blue spark produced.
Make sure to ground out the spark plug on the metal from the engine or you will shock yourself or whoever is holding it!
If you don’t see a blue spark, and you’ve already cleaned it with a wire brush, then you will need to replace it.
How to Winterize My Lawn Mower so it Starts in the Spring
Winterizing your generator properly is key to ensuring that it starts up right away in the spring.
Here’s the steps that I follow for all of my small engines that are stored for a while:
- Remove the boot and spark plug (clean it with a wire brush if needed), pour about a tablespoon of engine oil into the spark plug hole and with the spark plug still removed SLOWLY pull the recoil starter cord a few times to lubricate everything.
- Lightly screw the spark plug back in and keep the boot removed until spring. When spring arrives, the engine will not start due to the boot being removed. This is to remind you to unscrew and remove the spark plug and slowly pull the recoil cord a few more times before putting everything back to make sure you won’t get hydrolock. Remember, you may get a little smoke from the exhaust from any residual oil residue for the first few minutes.
- Only use ethanol free gasoline (if possible) and make sure to treat it with SeaFoam upon purchase. 1oz per gallon is the correct ratio. If you’re just adding SeaFoam at the end of the season, make sure to run the engine for 10 minutes to make sure it gets into the carburetor to protect it from bad gas.
That’s it. I’ve had over 10 years of successful start ups with all of my mowers using that exact method.
There are, of course, other things that I do like clean the bottom of the mower deck from matted grass to prevent rust, but as far as the engine is concerned, those steps are all you need to really do.
